


Food
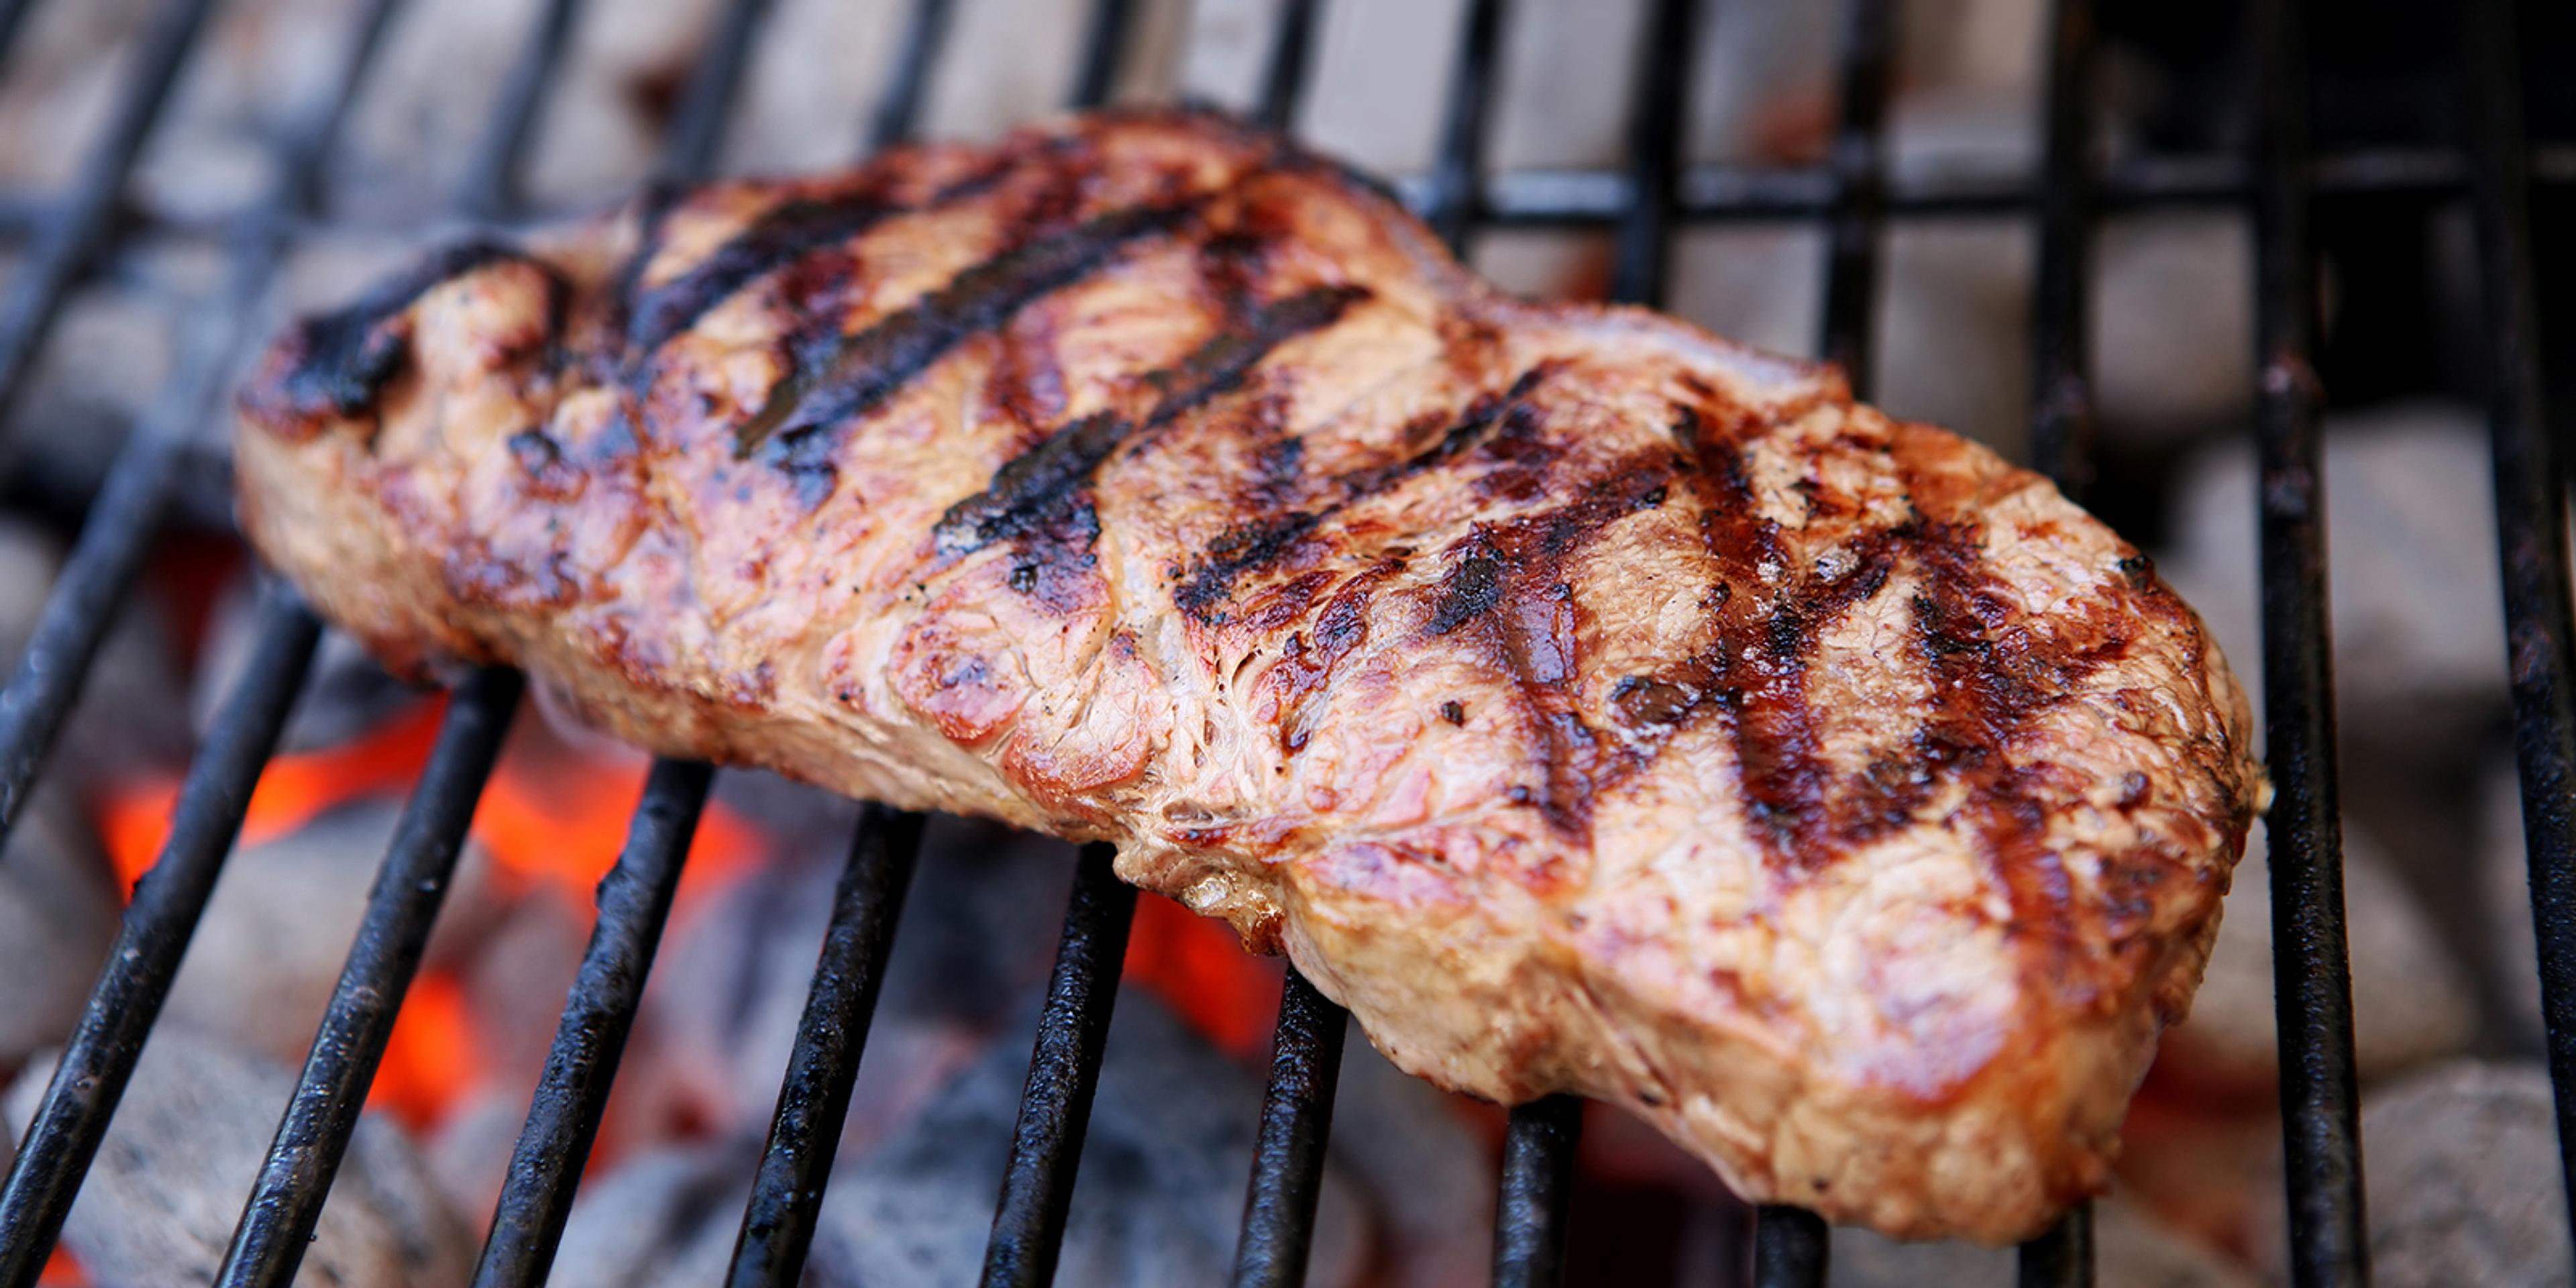
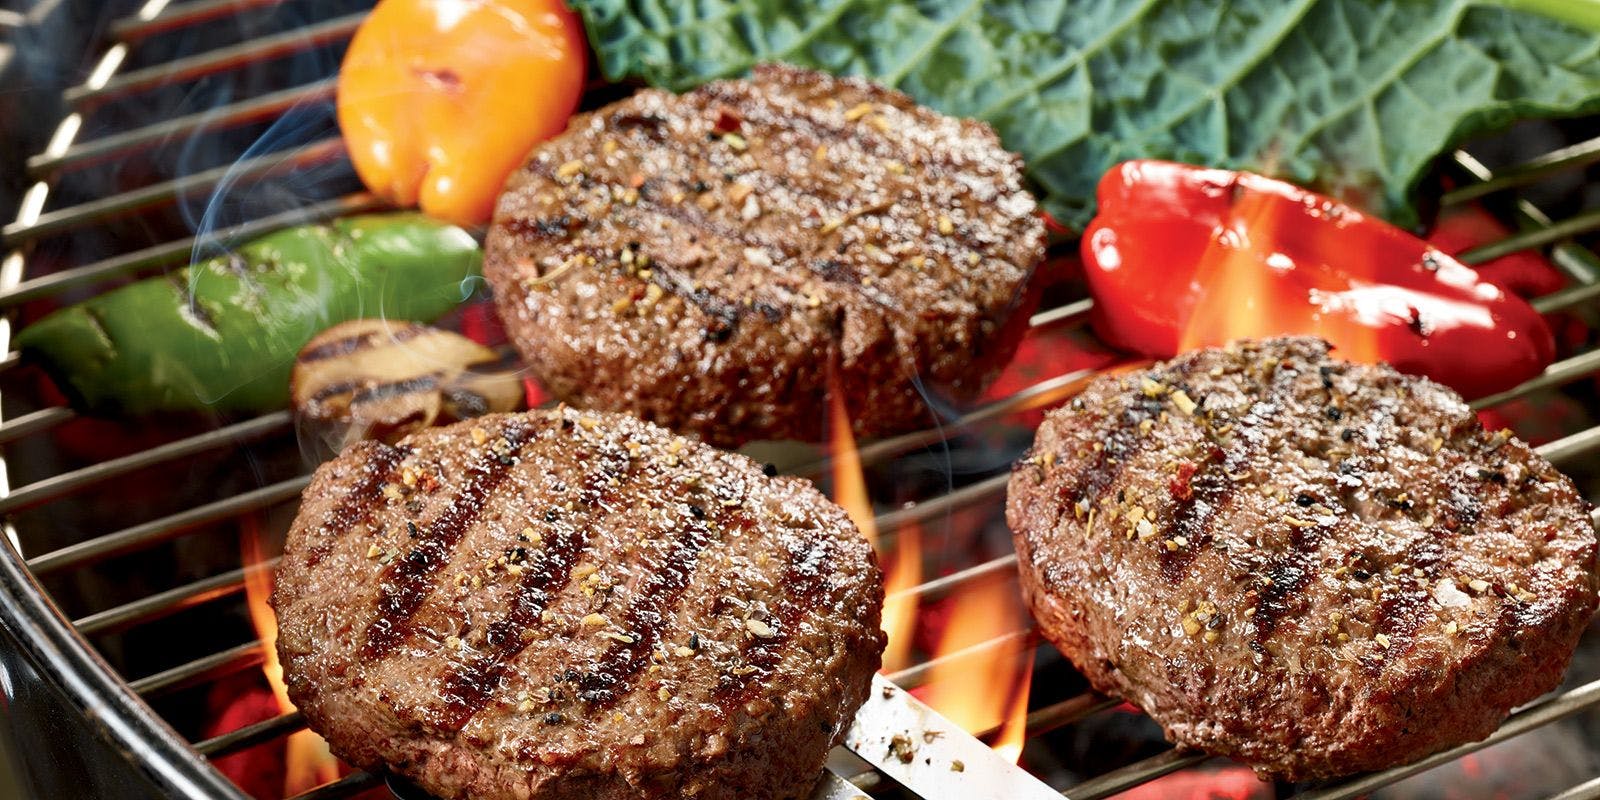
How to Grill the Perfect Steak: Because You Don’t Win Friends with Potato Salad
Whether your summer goal is to master the grill or earn the respect of the in-laws, you’ve come to the right place. If you follow this list to the T-bone, your reward will be the juiciest, most impressive steaks you have ever eaten.
Most of the magic happens way before your meat starts to sizzle. So, let’s get started.
1. To Cook a Perfect Steak, Start with the Best Steak
If you're an omnivore who appreciates a good cut of meat, you probably already heard (or tasted for yourself) that pasture-raised beef has more flavor than conventionally raised beef. Better yet, choose organic beef — not only for the flavor, but also for the fact you’ll be avoiding synthetic pesticides, herbicides, antibiotics, and GMOs. When you select steak from a company like Organic Prairie, you’re getting the most tender, flavorful steaks on the market from cattle that graze on over 250 native grasses and legumes.
2. Prep Steak for Grilling
A few hours before you are ready to don your apron, grab your steaks and your kosher salt (the bigger grains make an excellent crust). Sprinkle salt on each side — when you think you’ve added enough, add a shake more! It’s going to help retain the flavor. Then, put the steaks on a wire rack set on a rimmed baking sheet, cover them with butcher paper, and put them in the fridge to rest. During this time, the salt helps the cells of the meat retain water, guaranteeing juicy meat!
Steak hack! If the cut you are preparing is tougher than you’d prefer, pick up an organic lime and give it a good squeeze on each side! The juice will not affect the flavor but will break down the connective tissue of the meat making it wonderfully tender.
3. Get Steak to Room Temp
Start with arm circles, then do a few lunges. Great. Now, take the meat out of the fridge and let it sit on the counter for 25 minutes to get to room temperature. Don’t rush the process! You’ll end up with unevenly cooked meat if you don't let it warm up to room temperature slowly.
4. Turn Up the Heat
If you’re using a gas grill, turn the heat to high. However, if you’re cooking with charcoal, let the flames die down and wait until your coals glow orange and have started to turn a bit gray with ash.
Use the 2-2 rule: Place the back of your hand two inches above the hottest part of the coals. If you can hold it there for two seconds (no more, no less) — you're good to grill.
Disclaimer: Trying to leave your hand over the flames for more than 2 seconds is not a cool party trick. Don’t burn yourself.
5. The Time to Sear Is Here
Now it’s time for your big performance. Before placing your cuts on the grill, pat them dry, salt the meat again and season with freshly ground black pepper.
When your grill is nice and hot, clean your grill grate with a wire brush. (Don’t skip this step! We’ve seen what some of your grills look like, you monsters.) Oil up the grill by dipping a bunched up paper towel into a high-heat cooking oil (warmed up Organic Valley Ghee is a great choice for it’s high smoke point). Just be sure to not saturate the paper towel. You want enough oil on it to coat the grill grate, but you don't want it dripping everywhere.
Now place the steak over the flames, leaving a little space between each piece of meat, and cover the grill.
6. Only Flip the Steak Once!
No prodding, turning or poking with your tongs — we are only going to turn the steak once. How do you know the steak is ready to flip? It will usually take about 3 to 4 minutes, but you’ll be able to see the meat starting to “sweat” as juices rise to the top of the cut. Now, flip!
7. How Do You Want Your Steak Cooked?
These next few minutes are going to make or break your entire performance. How does everyone want their steak done? How do you know how cooked the steaks are? Lucky for you, you’ve already got the tools you need — your hands!
Checking Meat Doneness
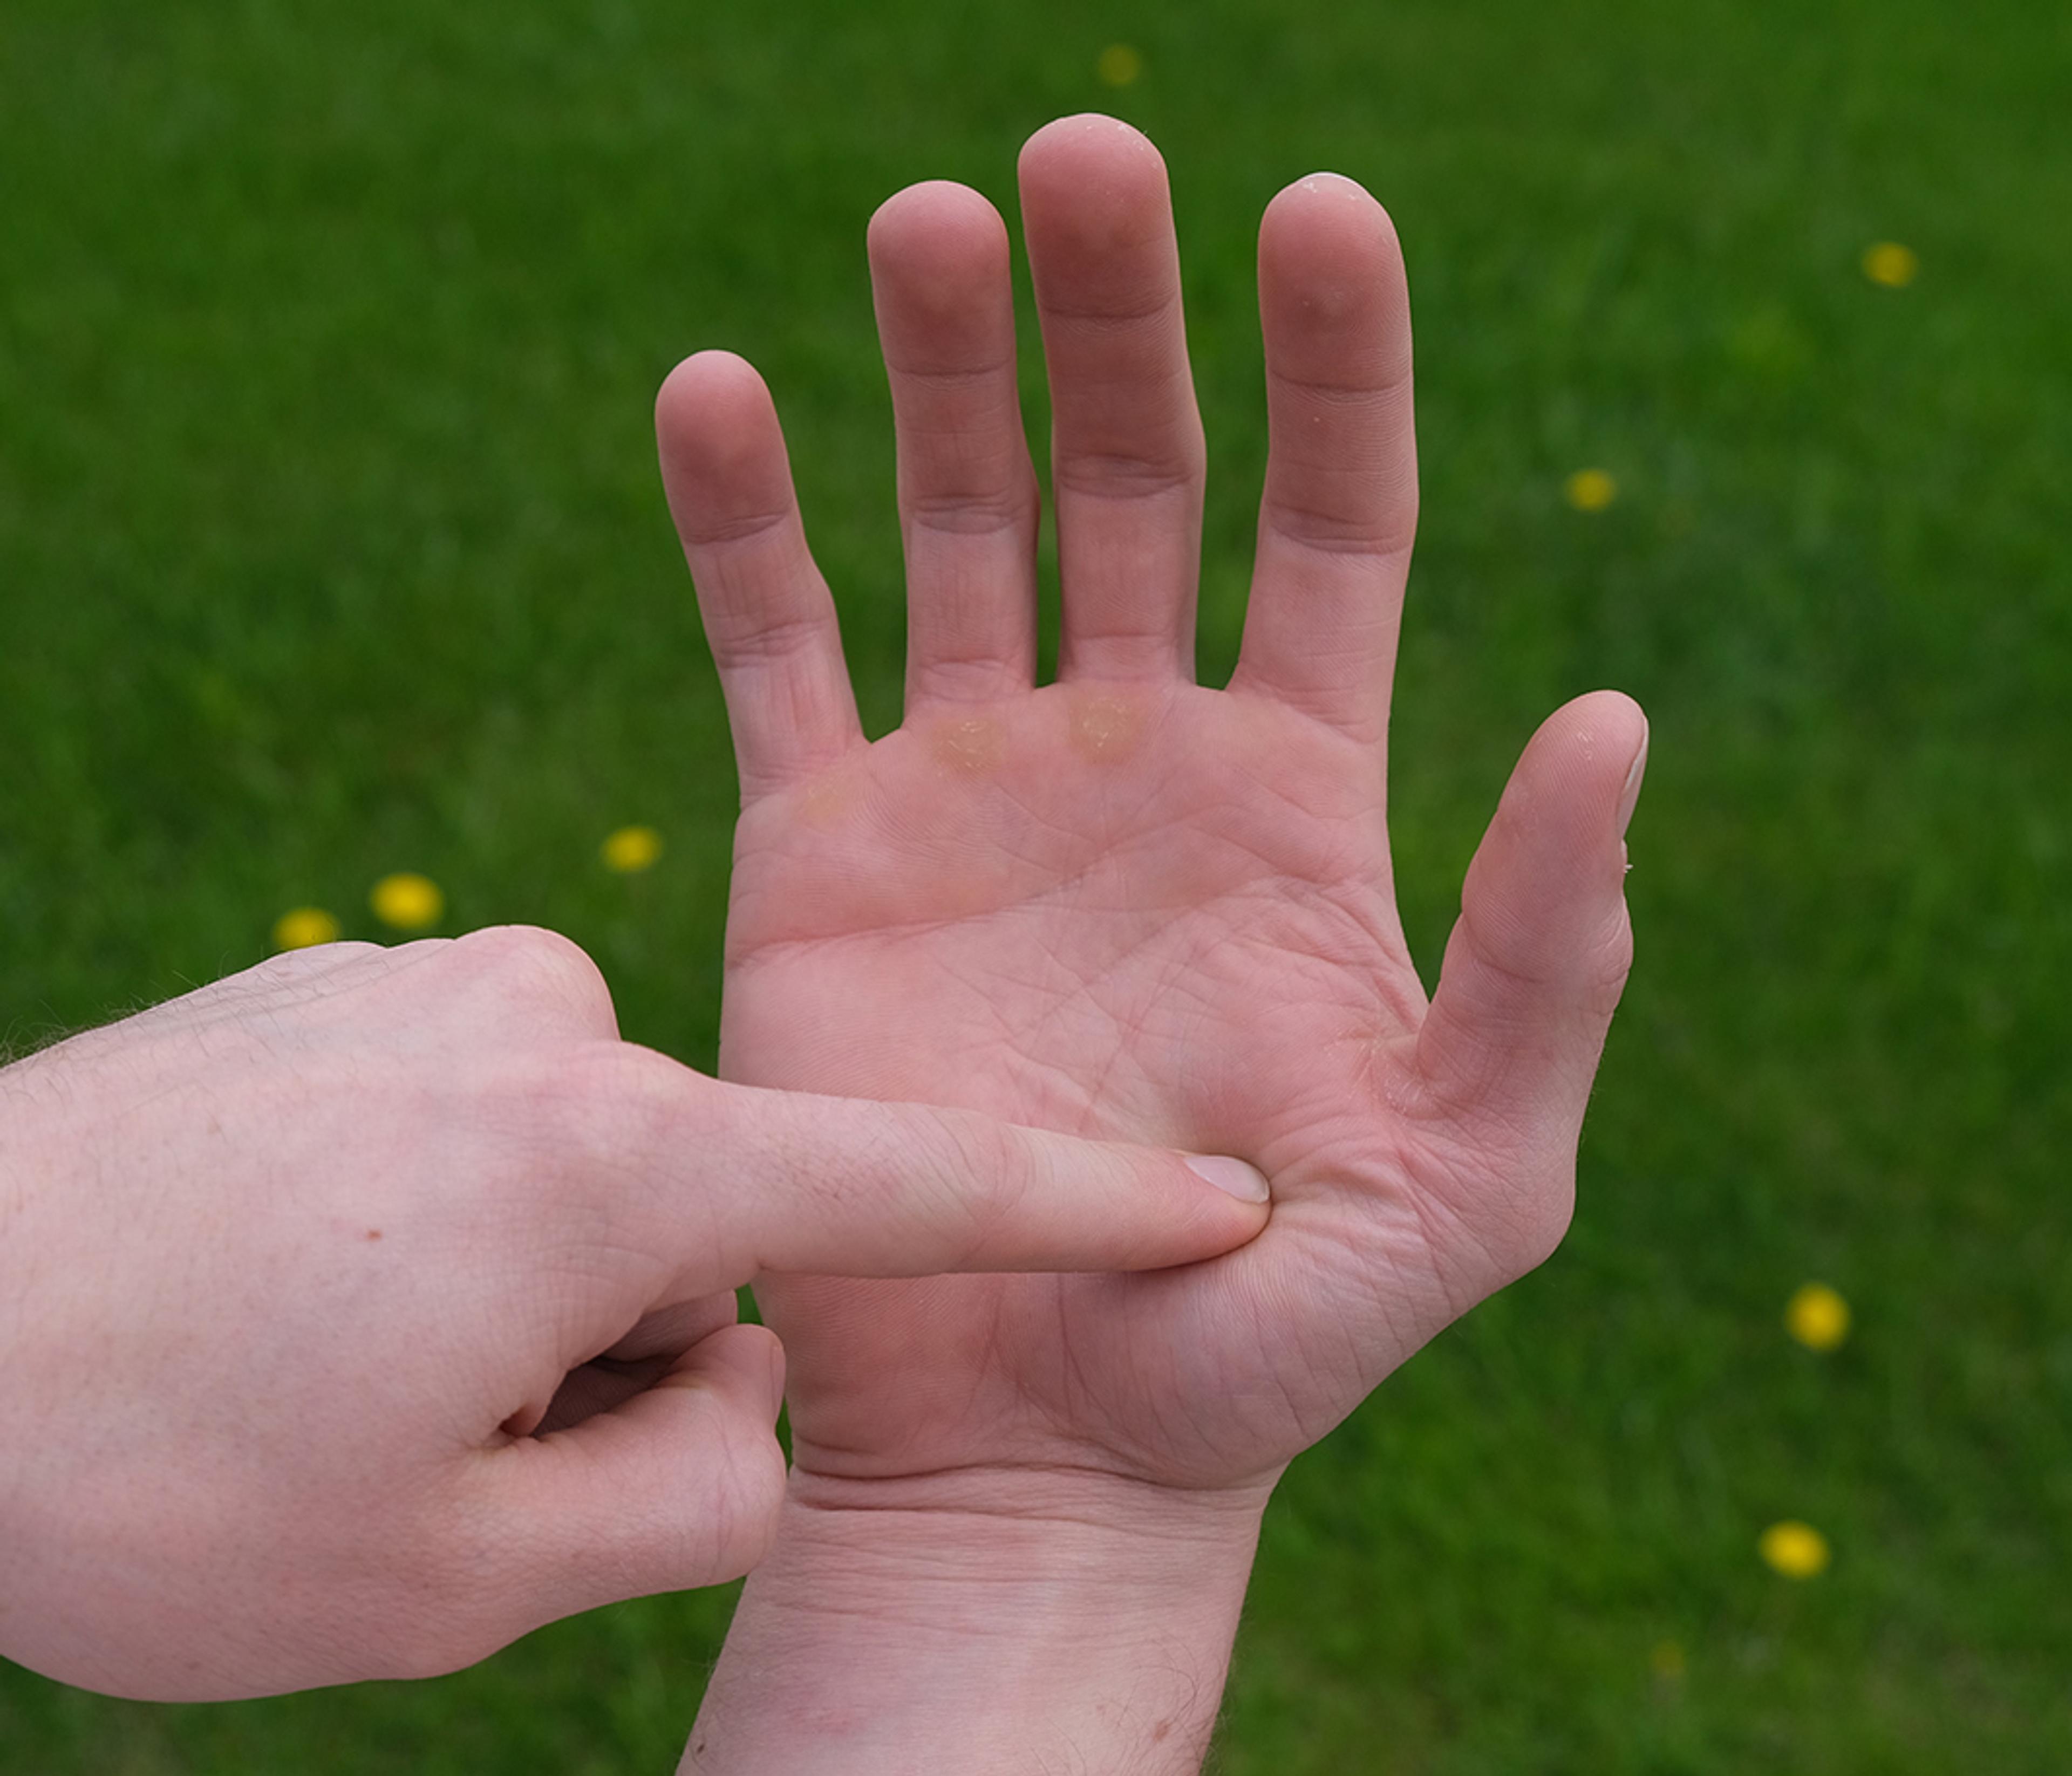
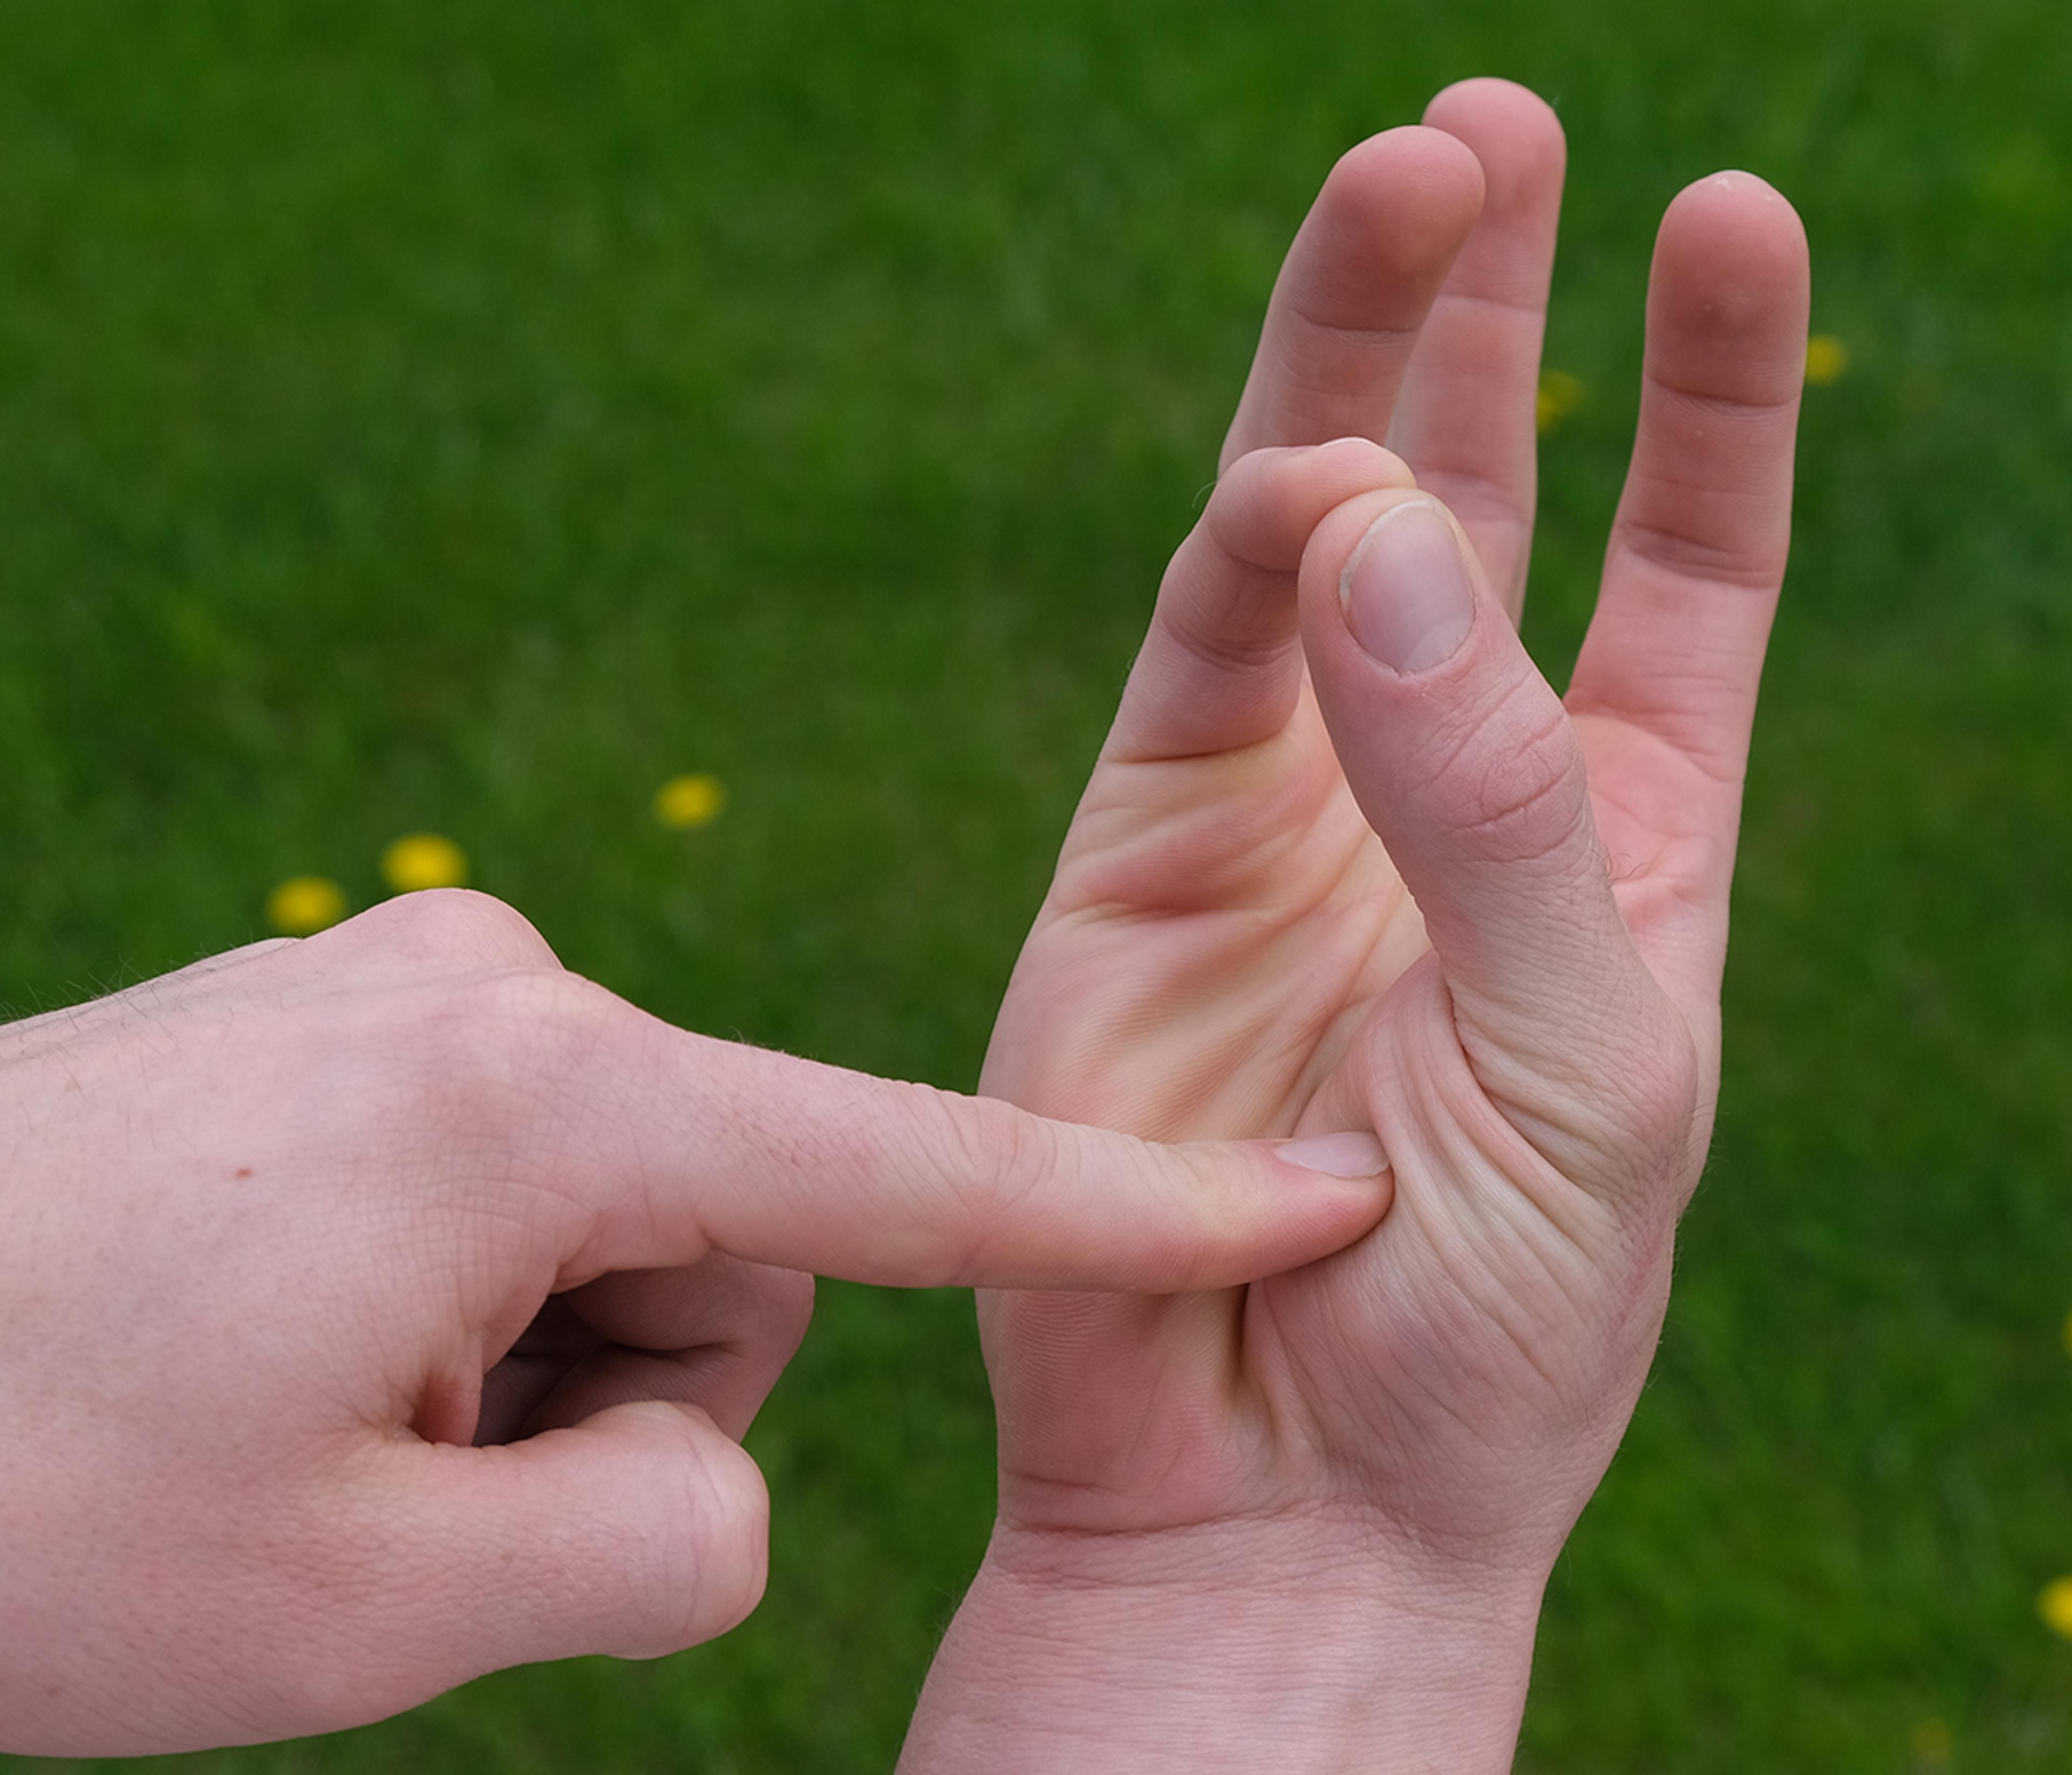
The Hand and Finger Method
The idea is that the firmness of your hand will match the firmness of the meat for the different doneness levels. This method, like most skills, gets more natural with a little practice. Please always start with clean hands — and don’t worry, you're not going to burn your fingers. If you are cooking with charcoal, your cooking time may be a minute or two longer.
Raw
Open the palm of your hand and keep it relaxed. Take the pointer finger of your other hand and push on the fleshy area between the thumb and the base of the palm. Remember, keep it relaxed.
Rare
Lighty put the tip of your index finger together with the tip of your thumb. The part of your hand below your thumb should be pretty soft — this is what a steak cooked rare feels like. Open up your palm again and compare raw to rare. (3 minutes per side)
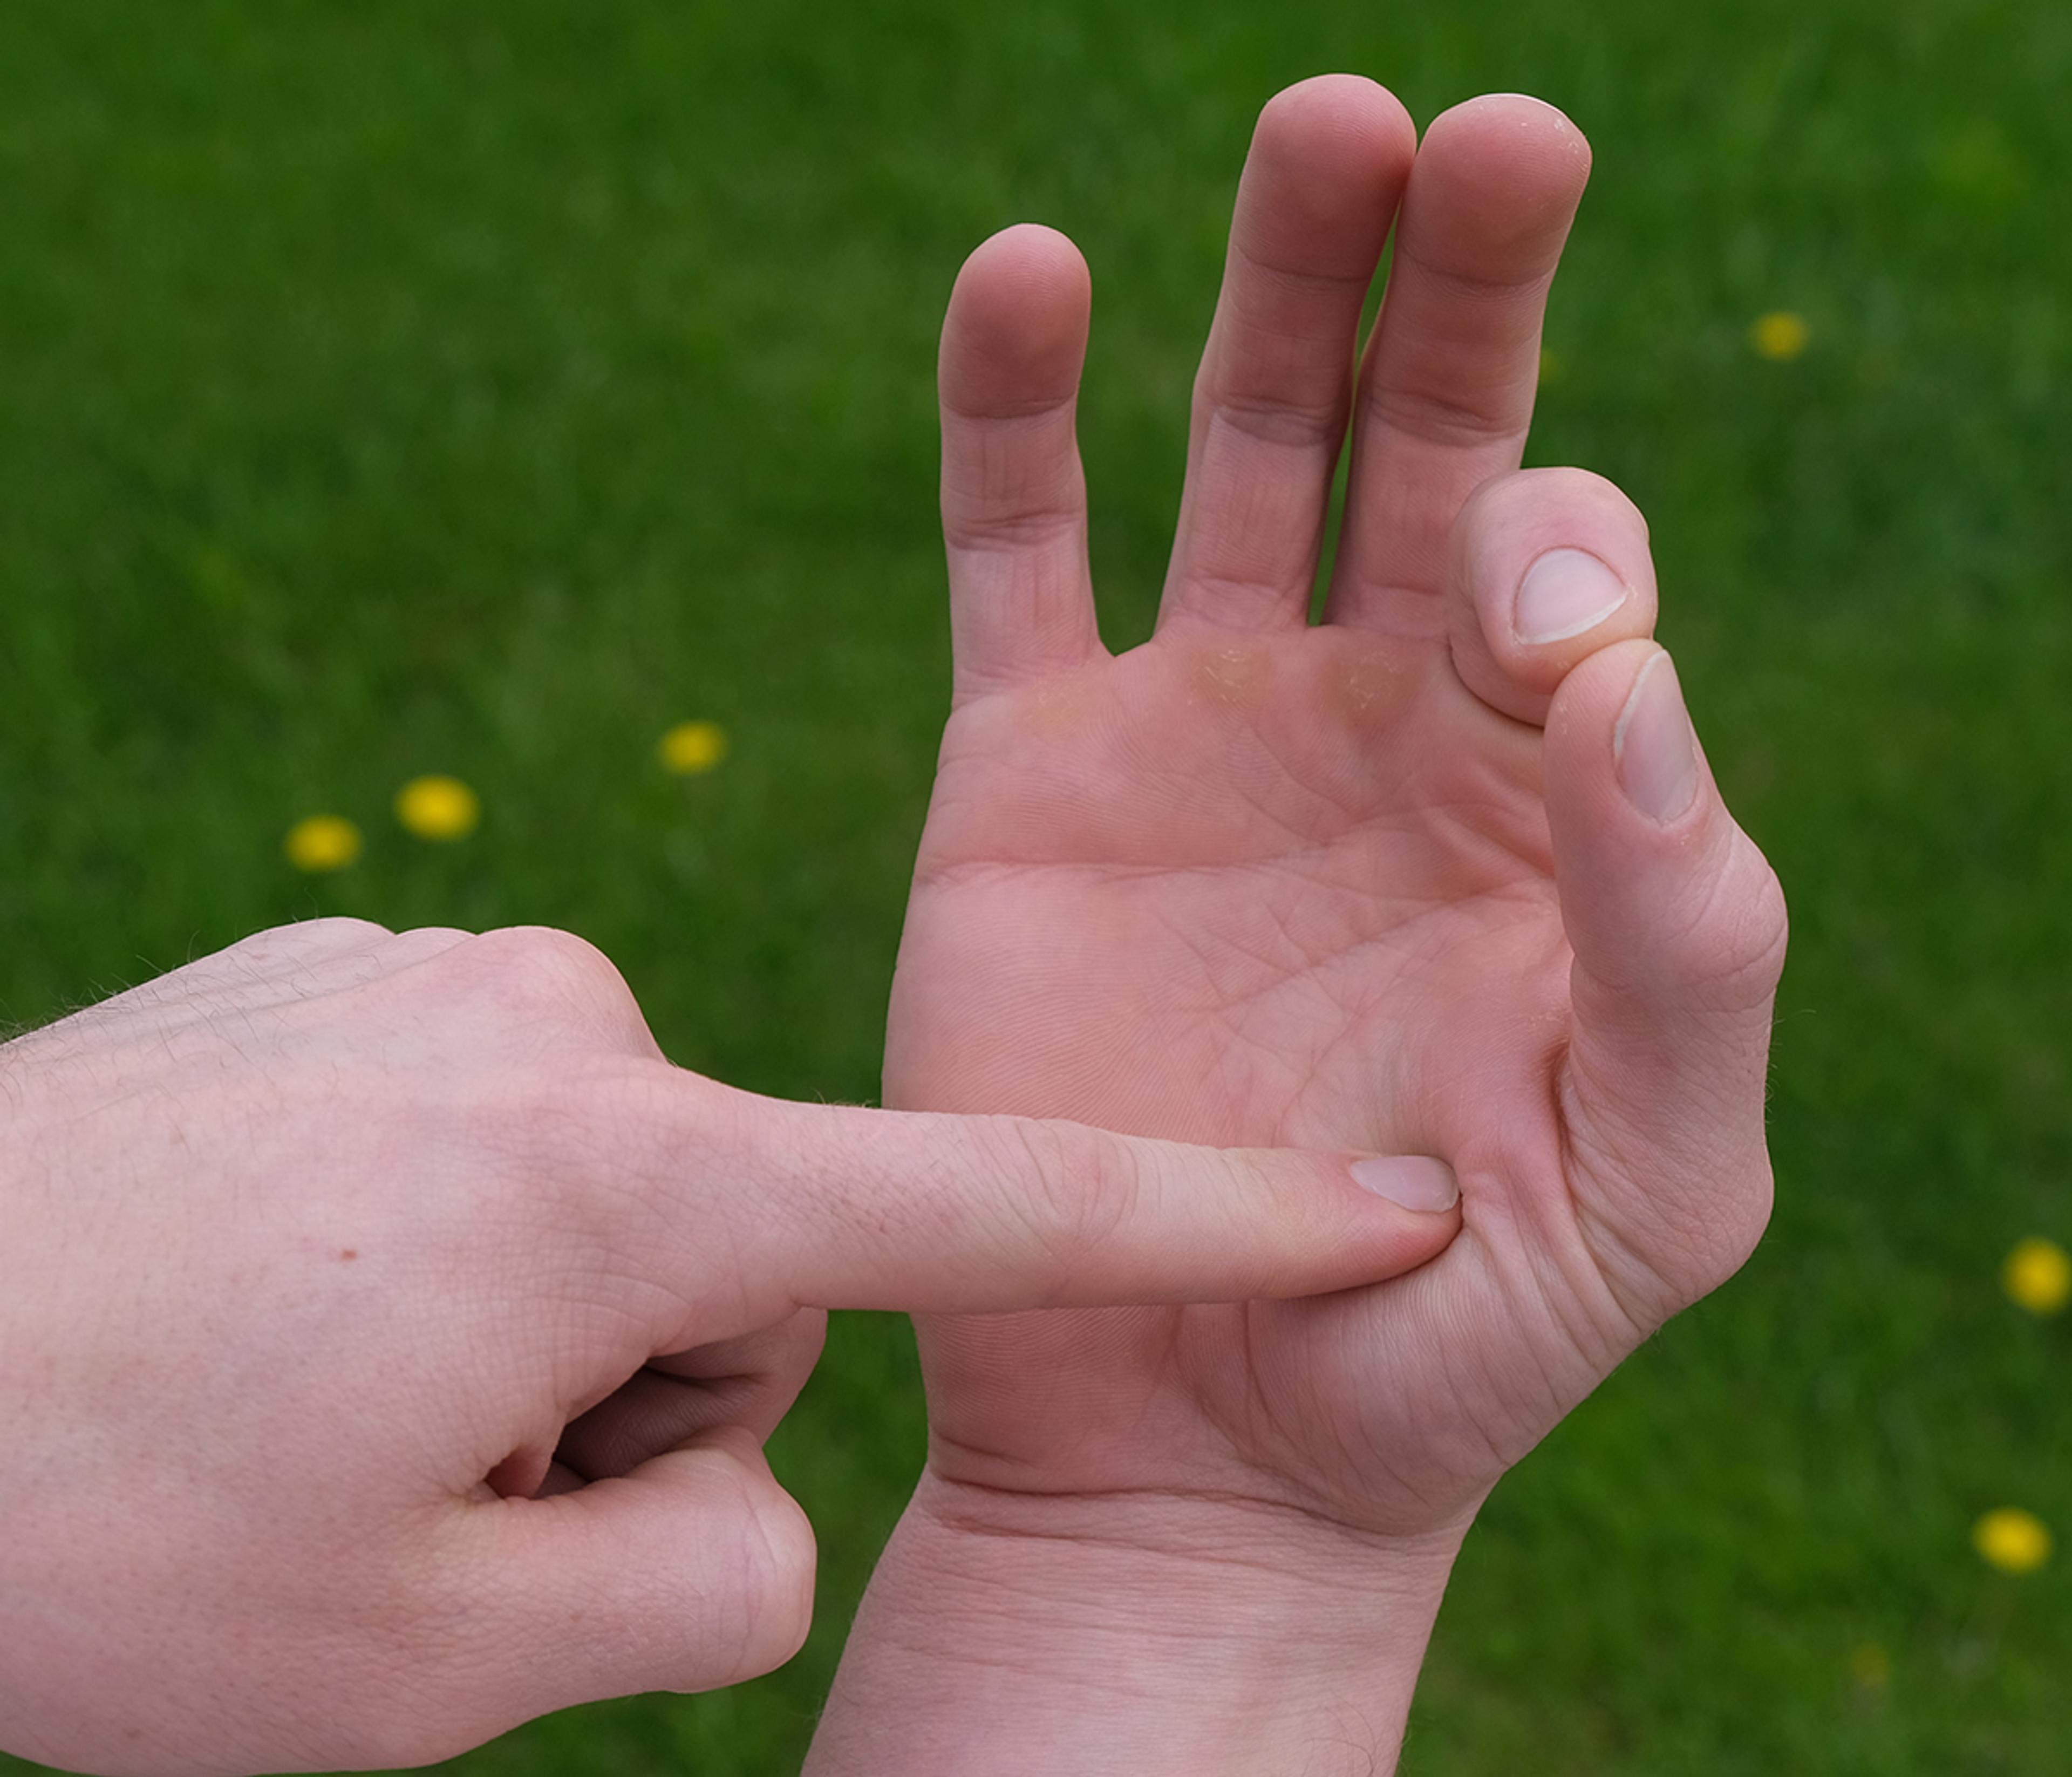
Medium Rare
Gently press the tip of your middle finger to the tip of your thumb. (3 to 5 minutes)

Medium
Press the tip of your ring finger and your thumb together. (5 to 7 minutes)
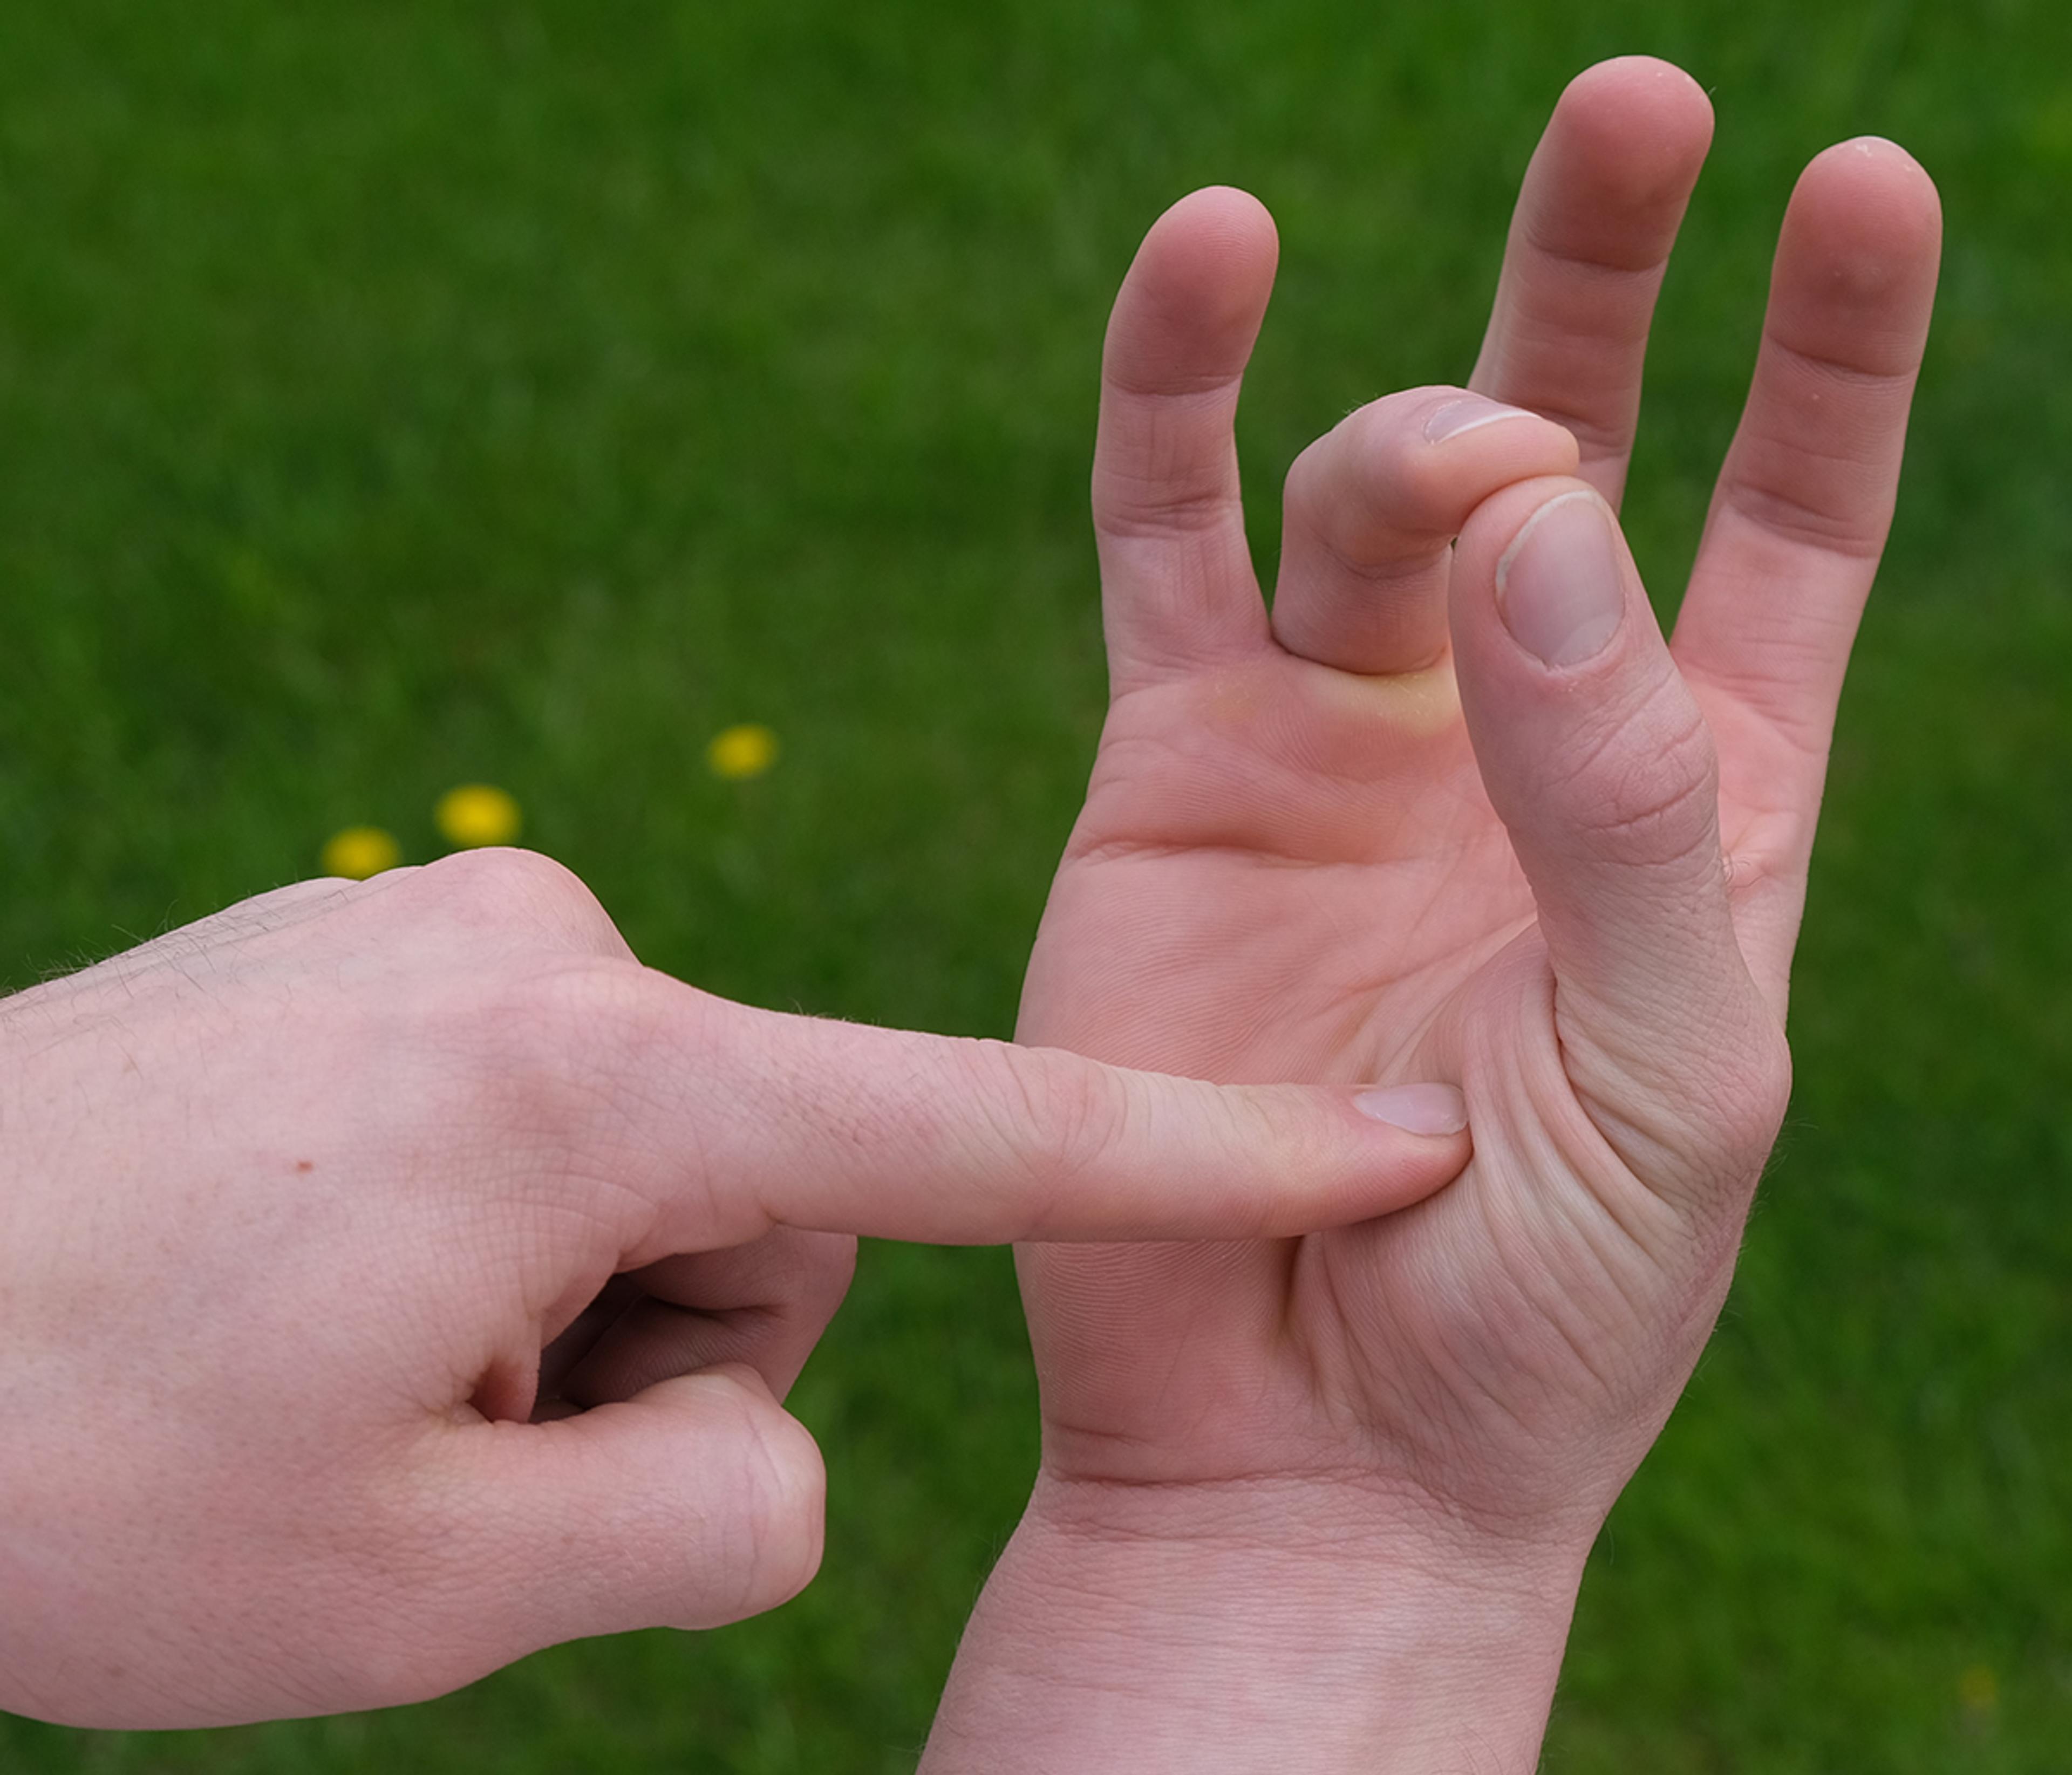
Well done
Press the tips of your pinky and thumb together. Again, feel the fleshy area below the thumb — it should feel quite firm. (8 to 10 minutes)
Steak Cooking Chart
Take your tongs and position the steak on its side. Then, insert the thermometer through the side of the cut, with the tip in the center or thickest part of the cut but making sure not to touch bone or fat.
- Rare: around 125 degrees
- Medium-rare: 125 to 130 degrees
- Medium: 130 to 135 degrees
- Medium-well: 135 to 140 degrees
- Well: 140 and above
Keep this in mind: when you poke a hole into the meat, juices escape, juices that you would rather have stayed in the meat.
8. Time to rest.
Once you feel your meat is cooked properly for your guests, take the steak off the grill and let it sit on a plate — don’t worry about covering it! For ten minutes, let the meat rest. The fibers will relax, and the juices will spread evenly. If you skip the rest, the delicious juices will escape all over your plate the moment you cut your steak.
Finally, enjoy!
Steak serving tip: If you are going to cut your steak and serve it with a tasty baked potato or some broccoli florets, make sure to cut across the grain of the steak — the flow of muscle fibers — with a very sharp knife. Slicing against the grain will help tenderize the meat by shortening those fibers.
Related Articles


- Tags:
- recipes,
- cooking & entertaining