


Food
4 Simple Tips to Make the Best All-Butter Pie Crust

Growing up, I never knew there were other fat options besides butter. We were an all-butter household, and my mom was very particular when it came to buying high-quality butter. It’s no wonder I own and operate an organic bakery–one that goes through hundreds of pounds of organic butter a month! So today I’m sharing tips and tricks for making the best homemade all-butter pie crust.
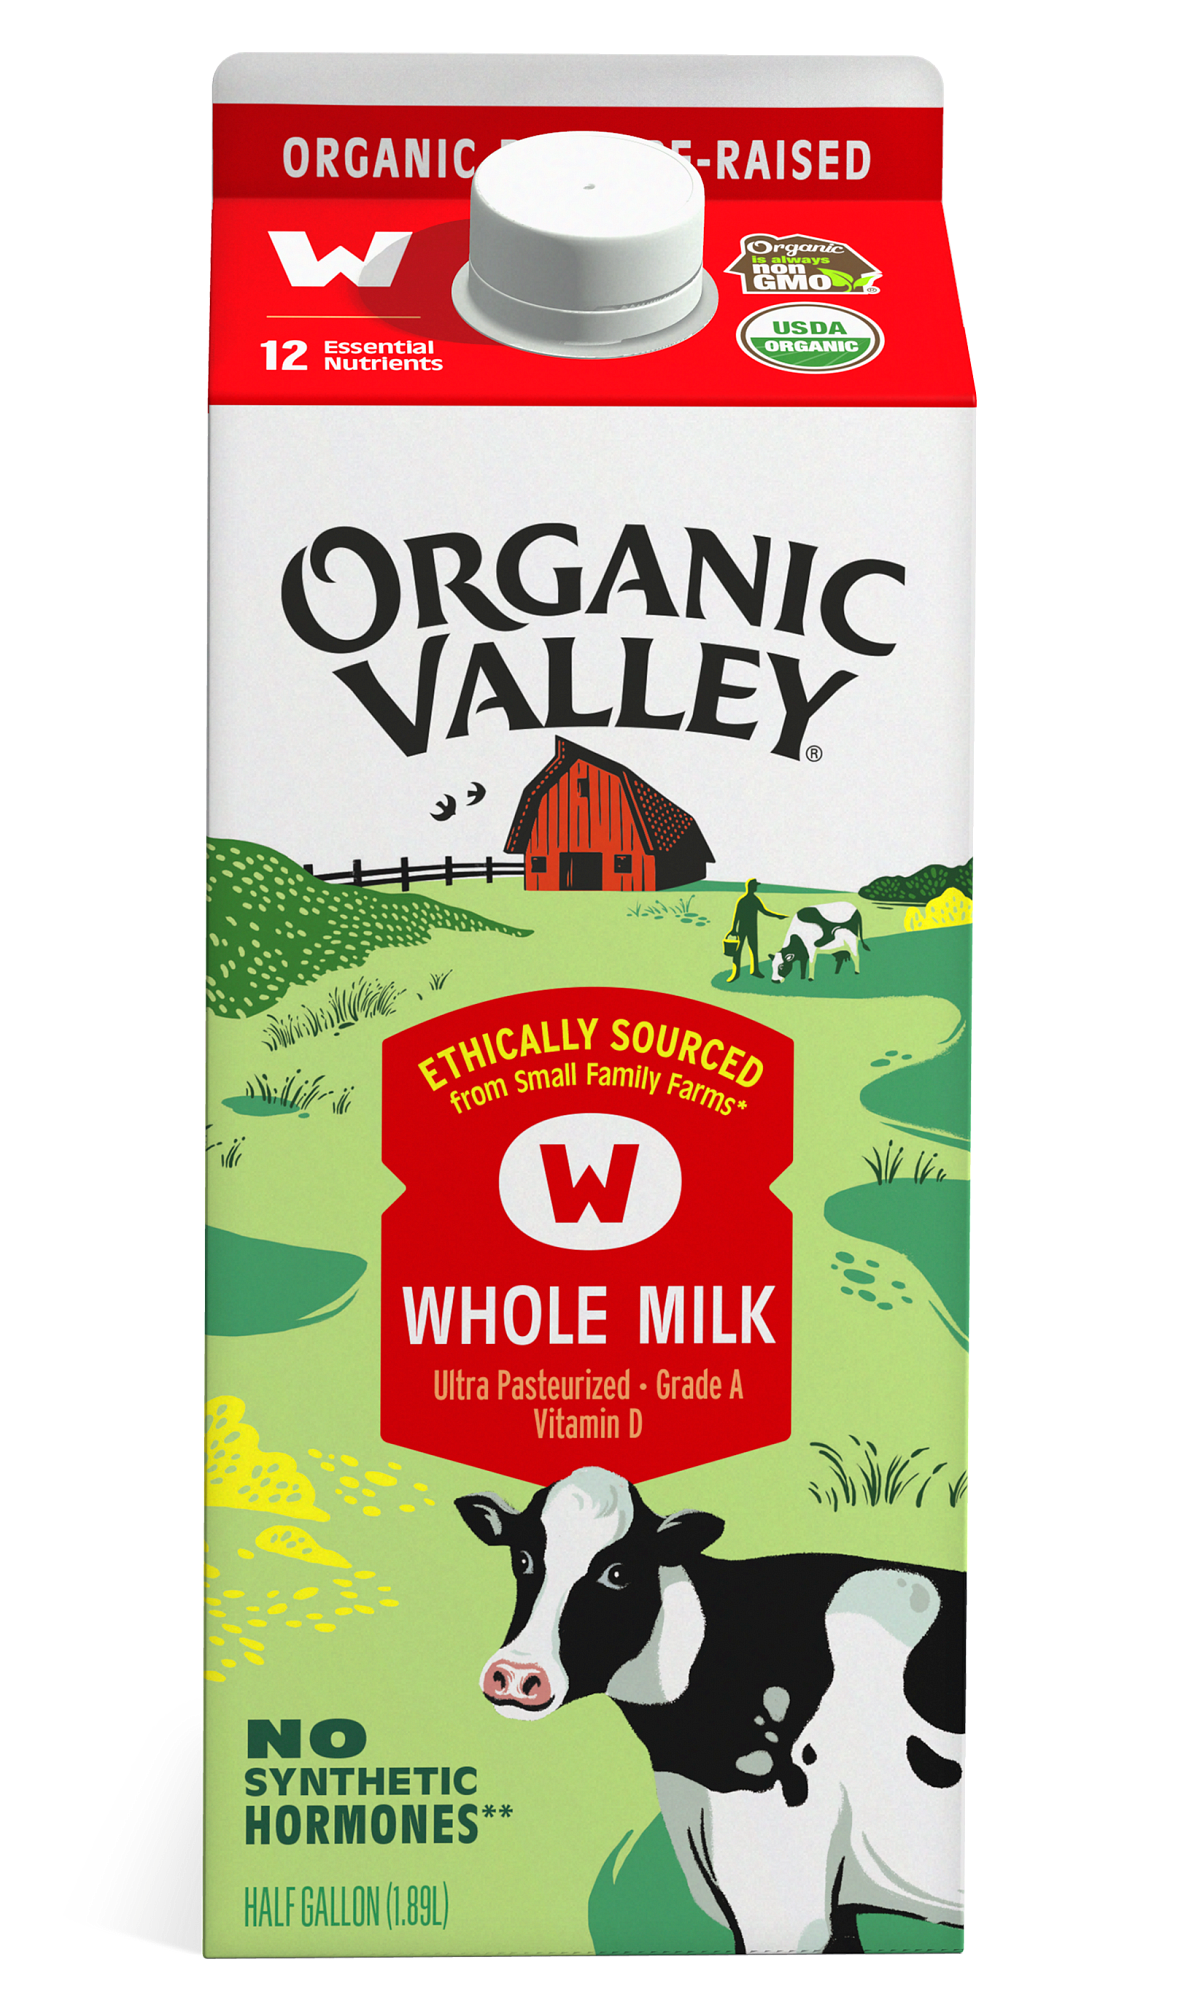
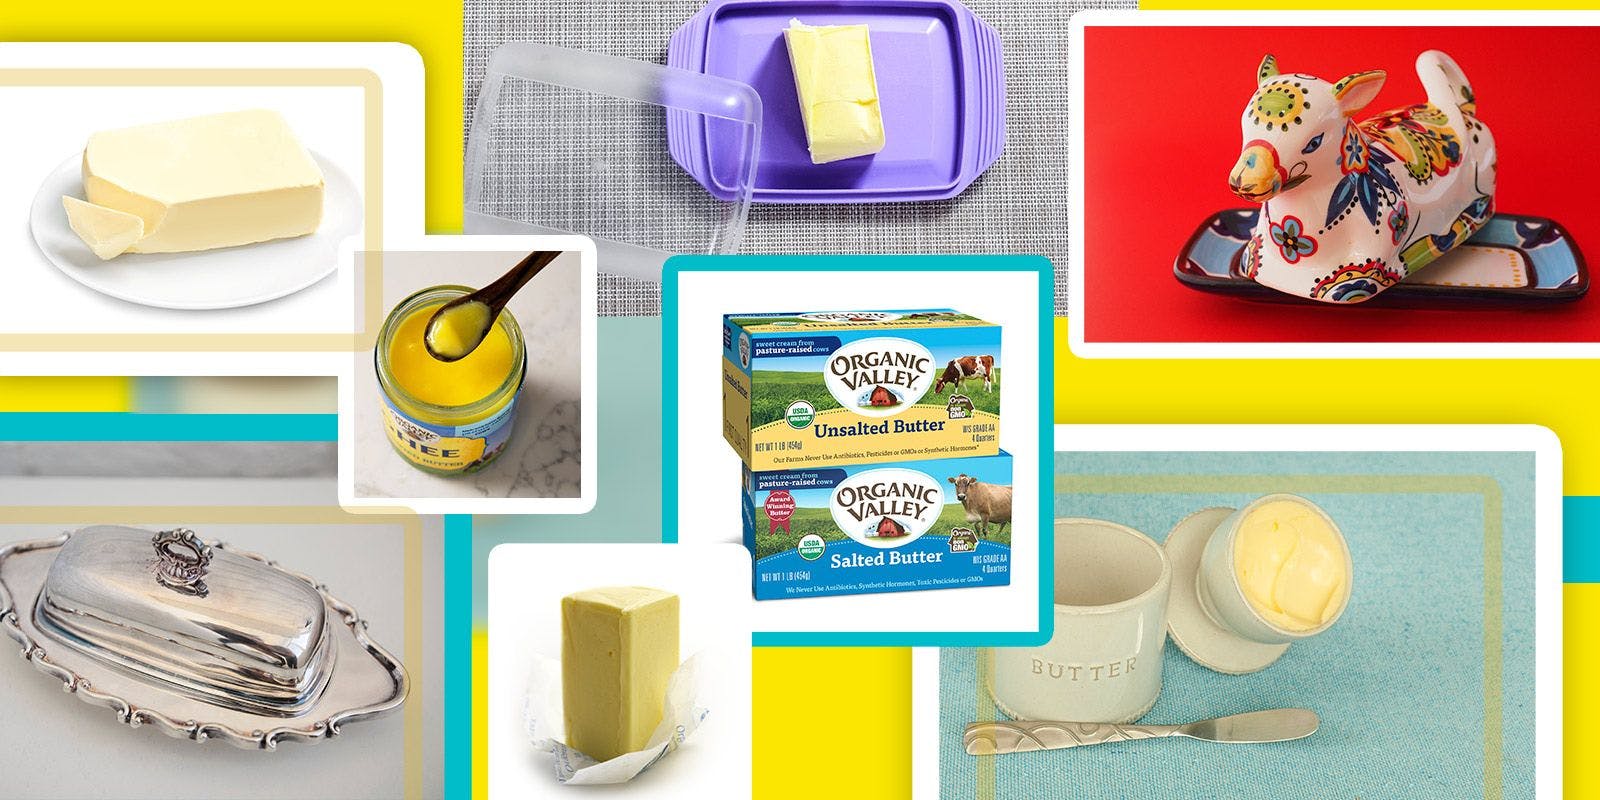
Many people are intimidated by making their own pie crusts, but it is one of the easiest things to make at home and one that is truly worth doing over buying a store-bought pie crust. All you need are a few simple ingredients: Organic Valley Salted Butter, organic flour, organic cane sugar, and water.
Get the recipe! Homemade All-Butter Pie Crust
Equipment
There is no special equipment needed to make a homemade pie crust made with butter! All you really need is a sharp knife to cut the butter. You absolutely can make the dough completely with your hands, which is how I made pie crust for years until our bakery-level volumes got too much. That’s when I learned you can also use a stand mixer! Or another helpful tool is a pastry cutter, which is small, inexpensive, and can be nice so you don’t warm up the butter too much while working it.
Ingredients and Helpful Tips
So let’s talk ingredients. We know pie dough is made up of just four simple ingredients: Organic Valley Salted Butter, organic flour, organic cane sugar, and water. With so few ingredients, each one has to work hard to create a delicious crust, so choosing high-quality ingredients makes a big difference.
There’s no doubt that the best thing about pie crust is its flaky texture. What makes pie crust flaky? Two factors are at play here, and they both involve butter.
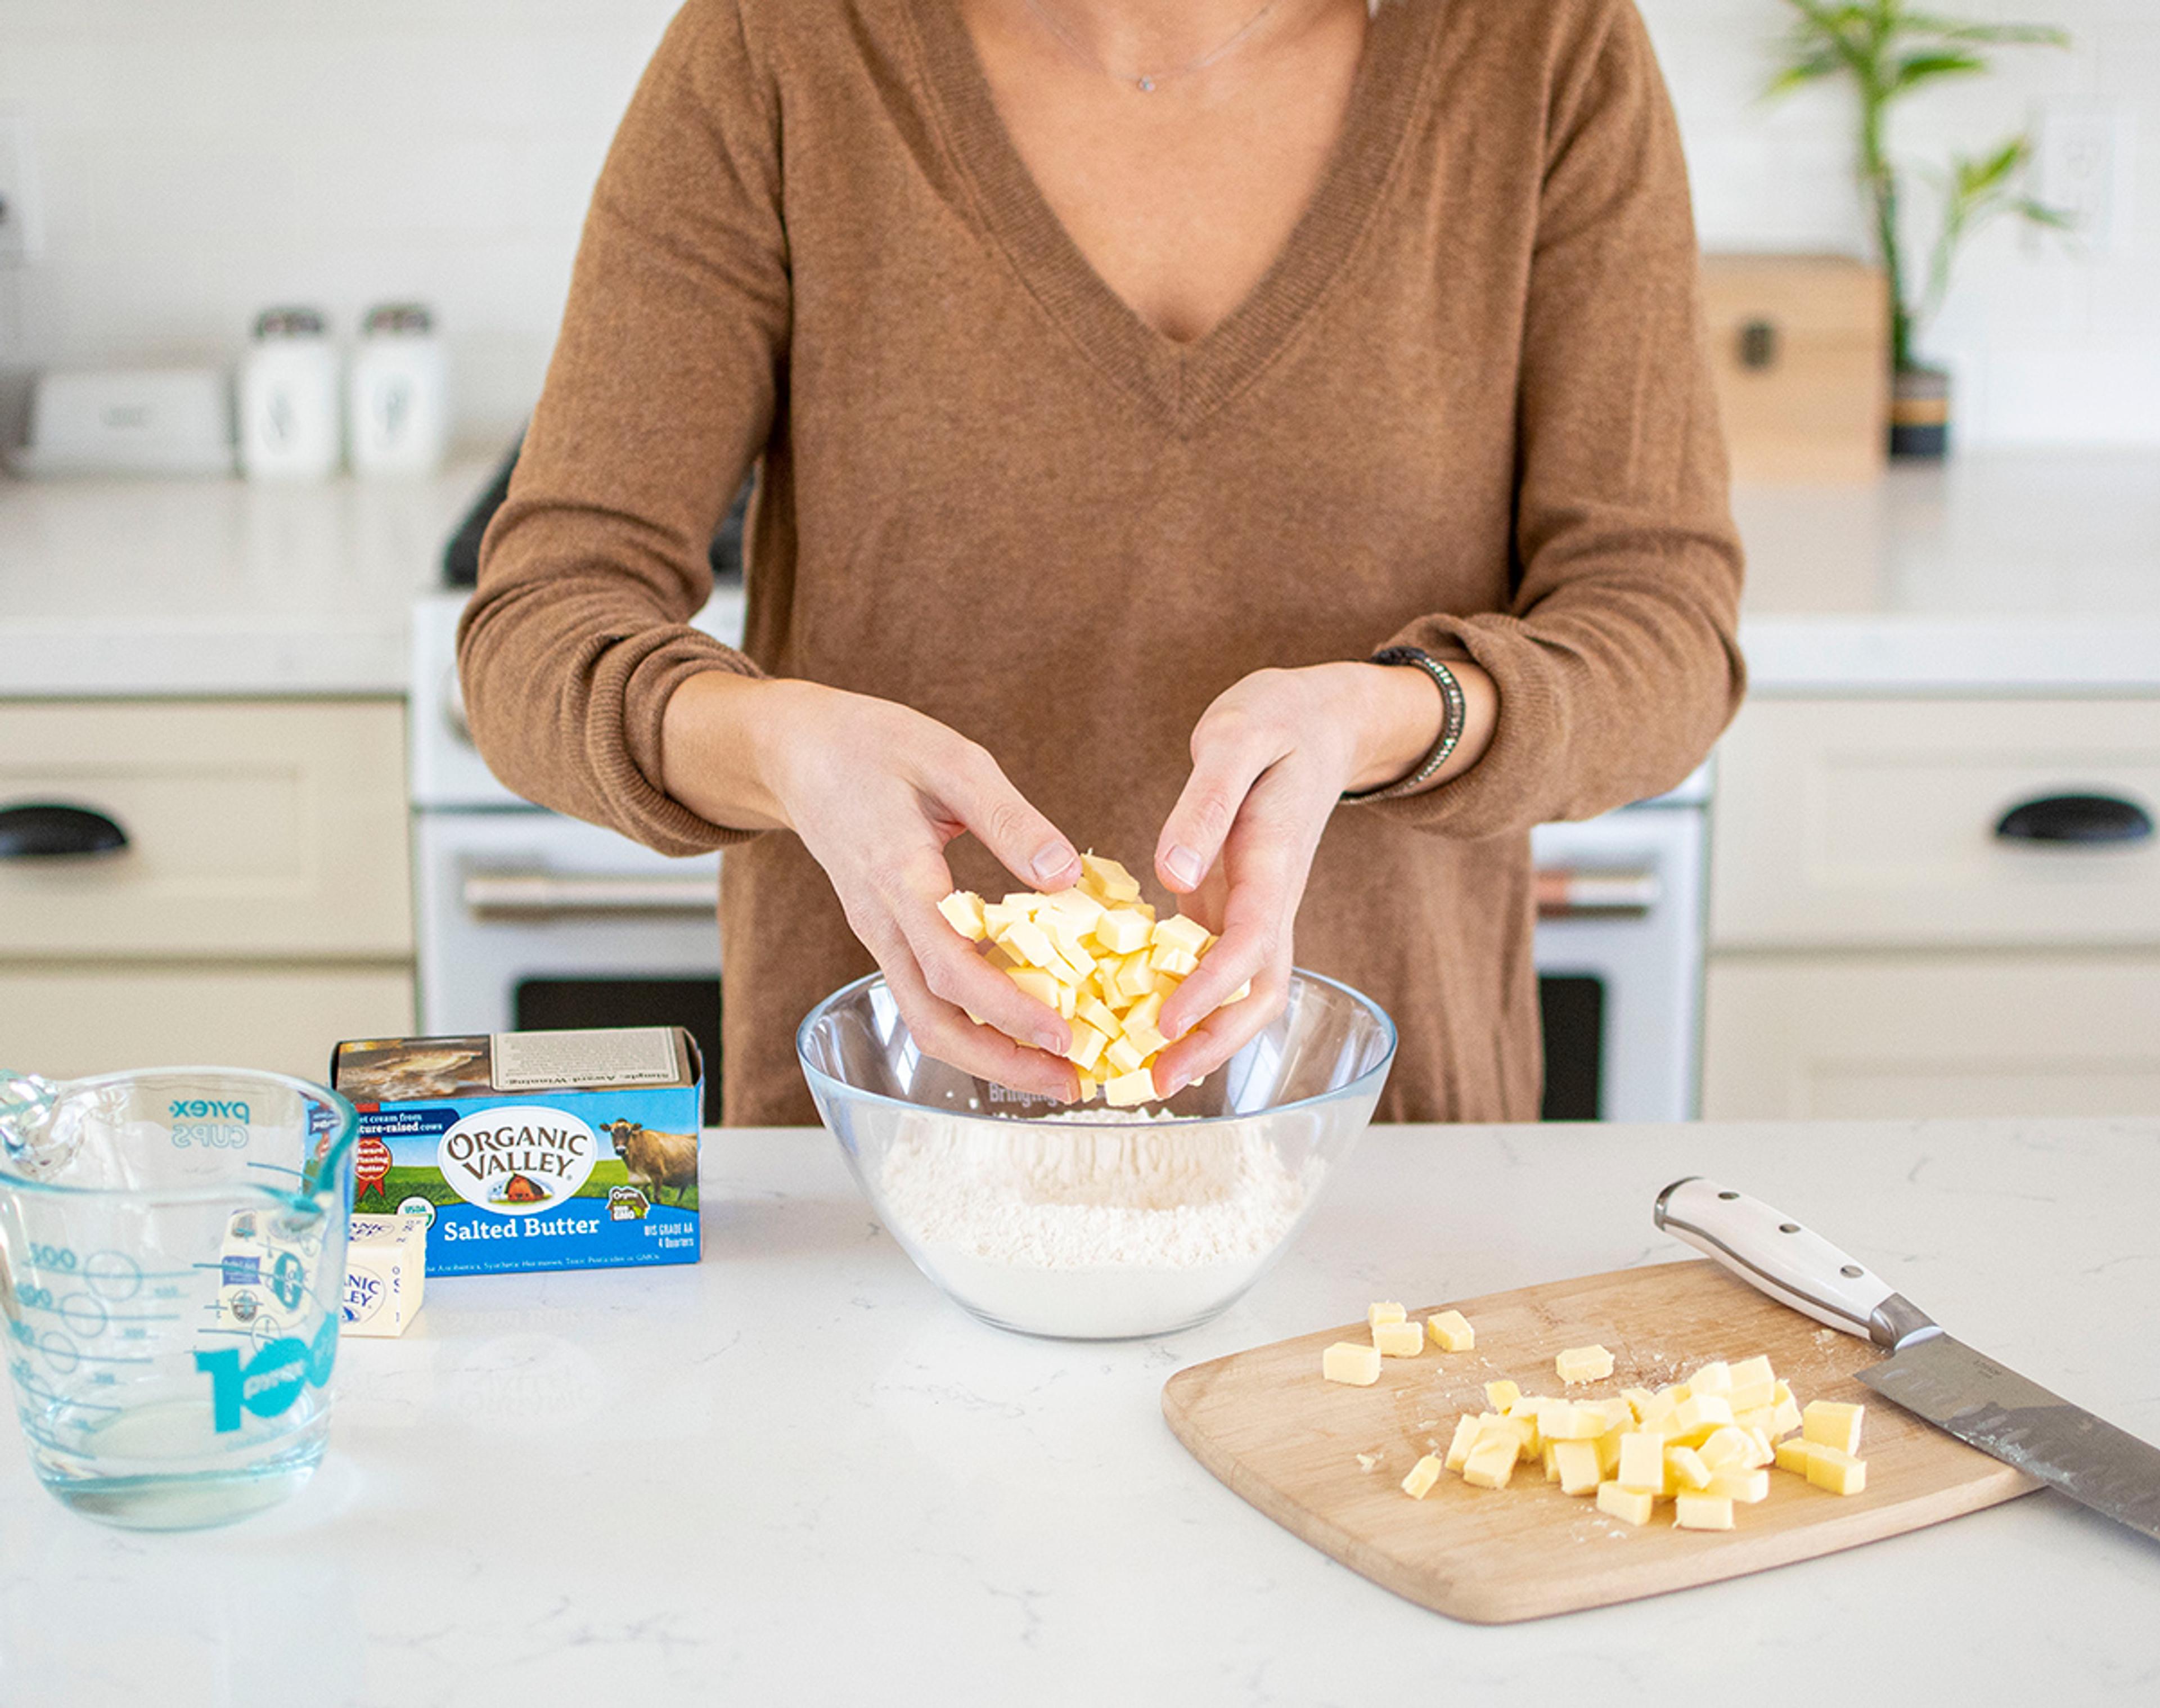
1. Keep the Butter Cold
First, keeping the butter cold is completely necessary to make a flaky pie crust. Why? Because cold butter won’t fully blend into the dough like softened butter does. When the pie crust bakes in the oven, the cold butter melts, leaving air pockets in the dough. The moisture in those air pockets turns to steam from the heat of the oven, expanding the air pockets. This results in a flaky crust. So that’s the first step: cold butter.
When it’s warm outside, or warm in your kitchen, the butter begins to soften the moment it’s out of the fridge. Plus, some people just have hot hands, so working with the butter to simply cut it will warm it immediately. I have a few tips for beginner pie bakers to make sure your butter stays cold during the dough-making process. We use these tips at my bakery to ensure that our pie crusts are flaky every time.
When making the dough, prepare your other ingredients first. Measure the water and place it in the fridge so it stays cold, then measure the flour and sugar into your mixing bowl. Cut your butter, place it in the bowl with the flour and sugar, then place the bowl in the fridge for 15 to 30 minutes to ensure everything is truly cold. Finally, using a stand mixer or pastry cutter helps keep the butter colder longer, but if you are using your hands, work as quickly as you can, or if you must, put the bowl back in the fridge for a bit if the butter begins to get too soft.
2. Cut Butter into Small Pieces
Second, cut the butter into small pieces. The smaller the butter chunks, the flakier the crust. This is an easy rule to remember when you’re making pie crust from scratch without having to know exactly why it works. It’s something I knew for years from baking at home just from trial and error, but I didn’t know why. But it’s very simple: The more butter chunks you have, the more distribution of butter throughout the dough, and therefore, you’ll have a more consistently flaky crust.
Some people prefer to grate the butter, but I prefer cutting small chunks over grating as I think it’s easier. Plus, I feel grating can allow the butter to soften faster than small chunks. If your butter chunks are very large, you’ll have fewer butter pockets, so the dough won’t be as flaky all around. Also, large butter chunks may also cause holes in your pie crust where your filling can leak out.
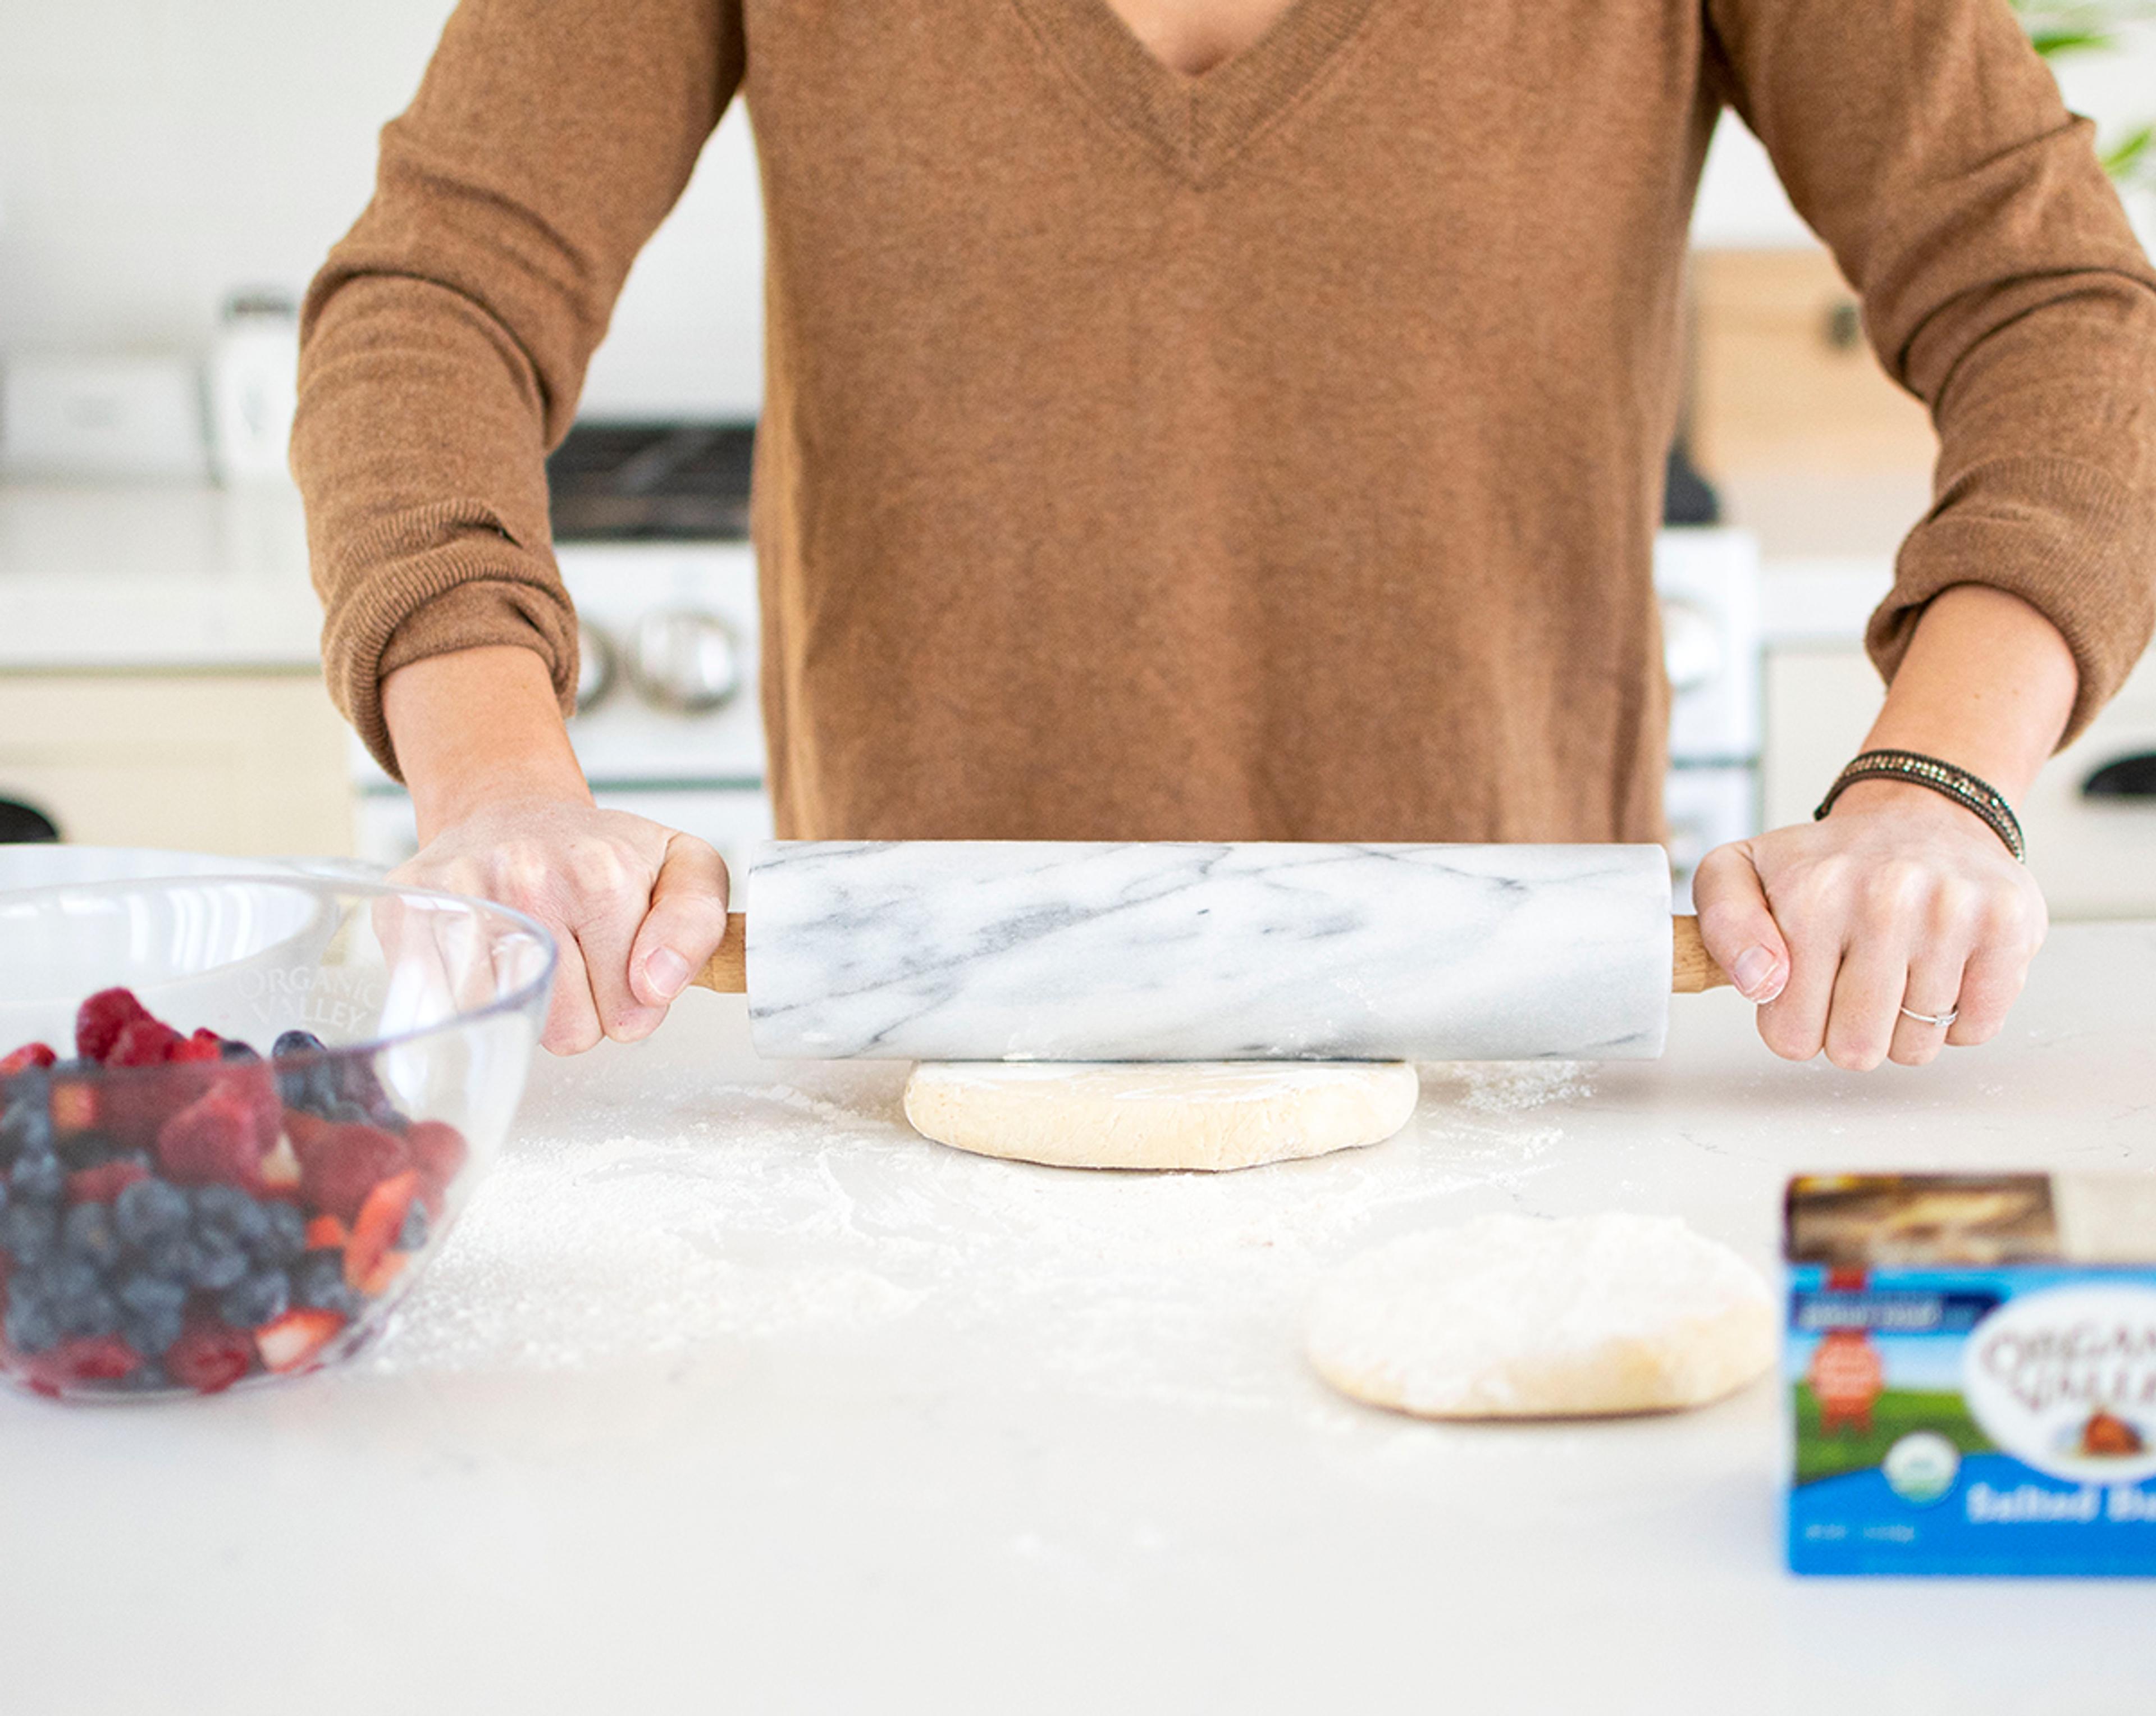
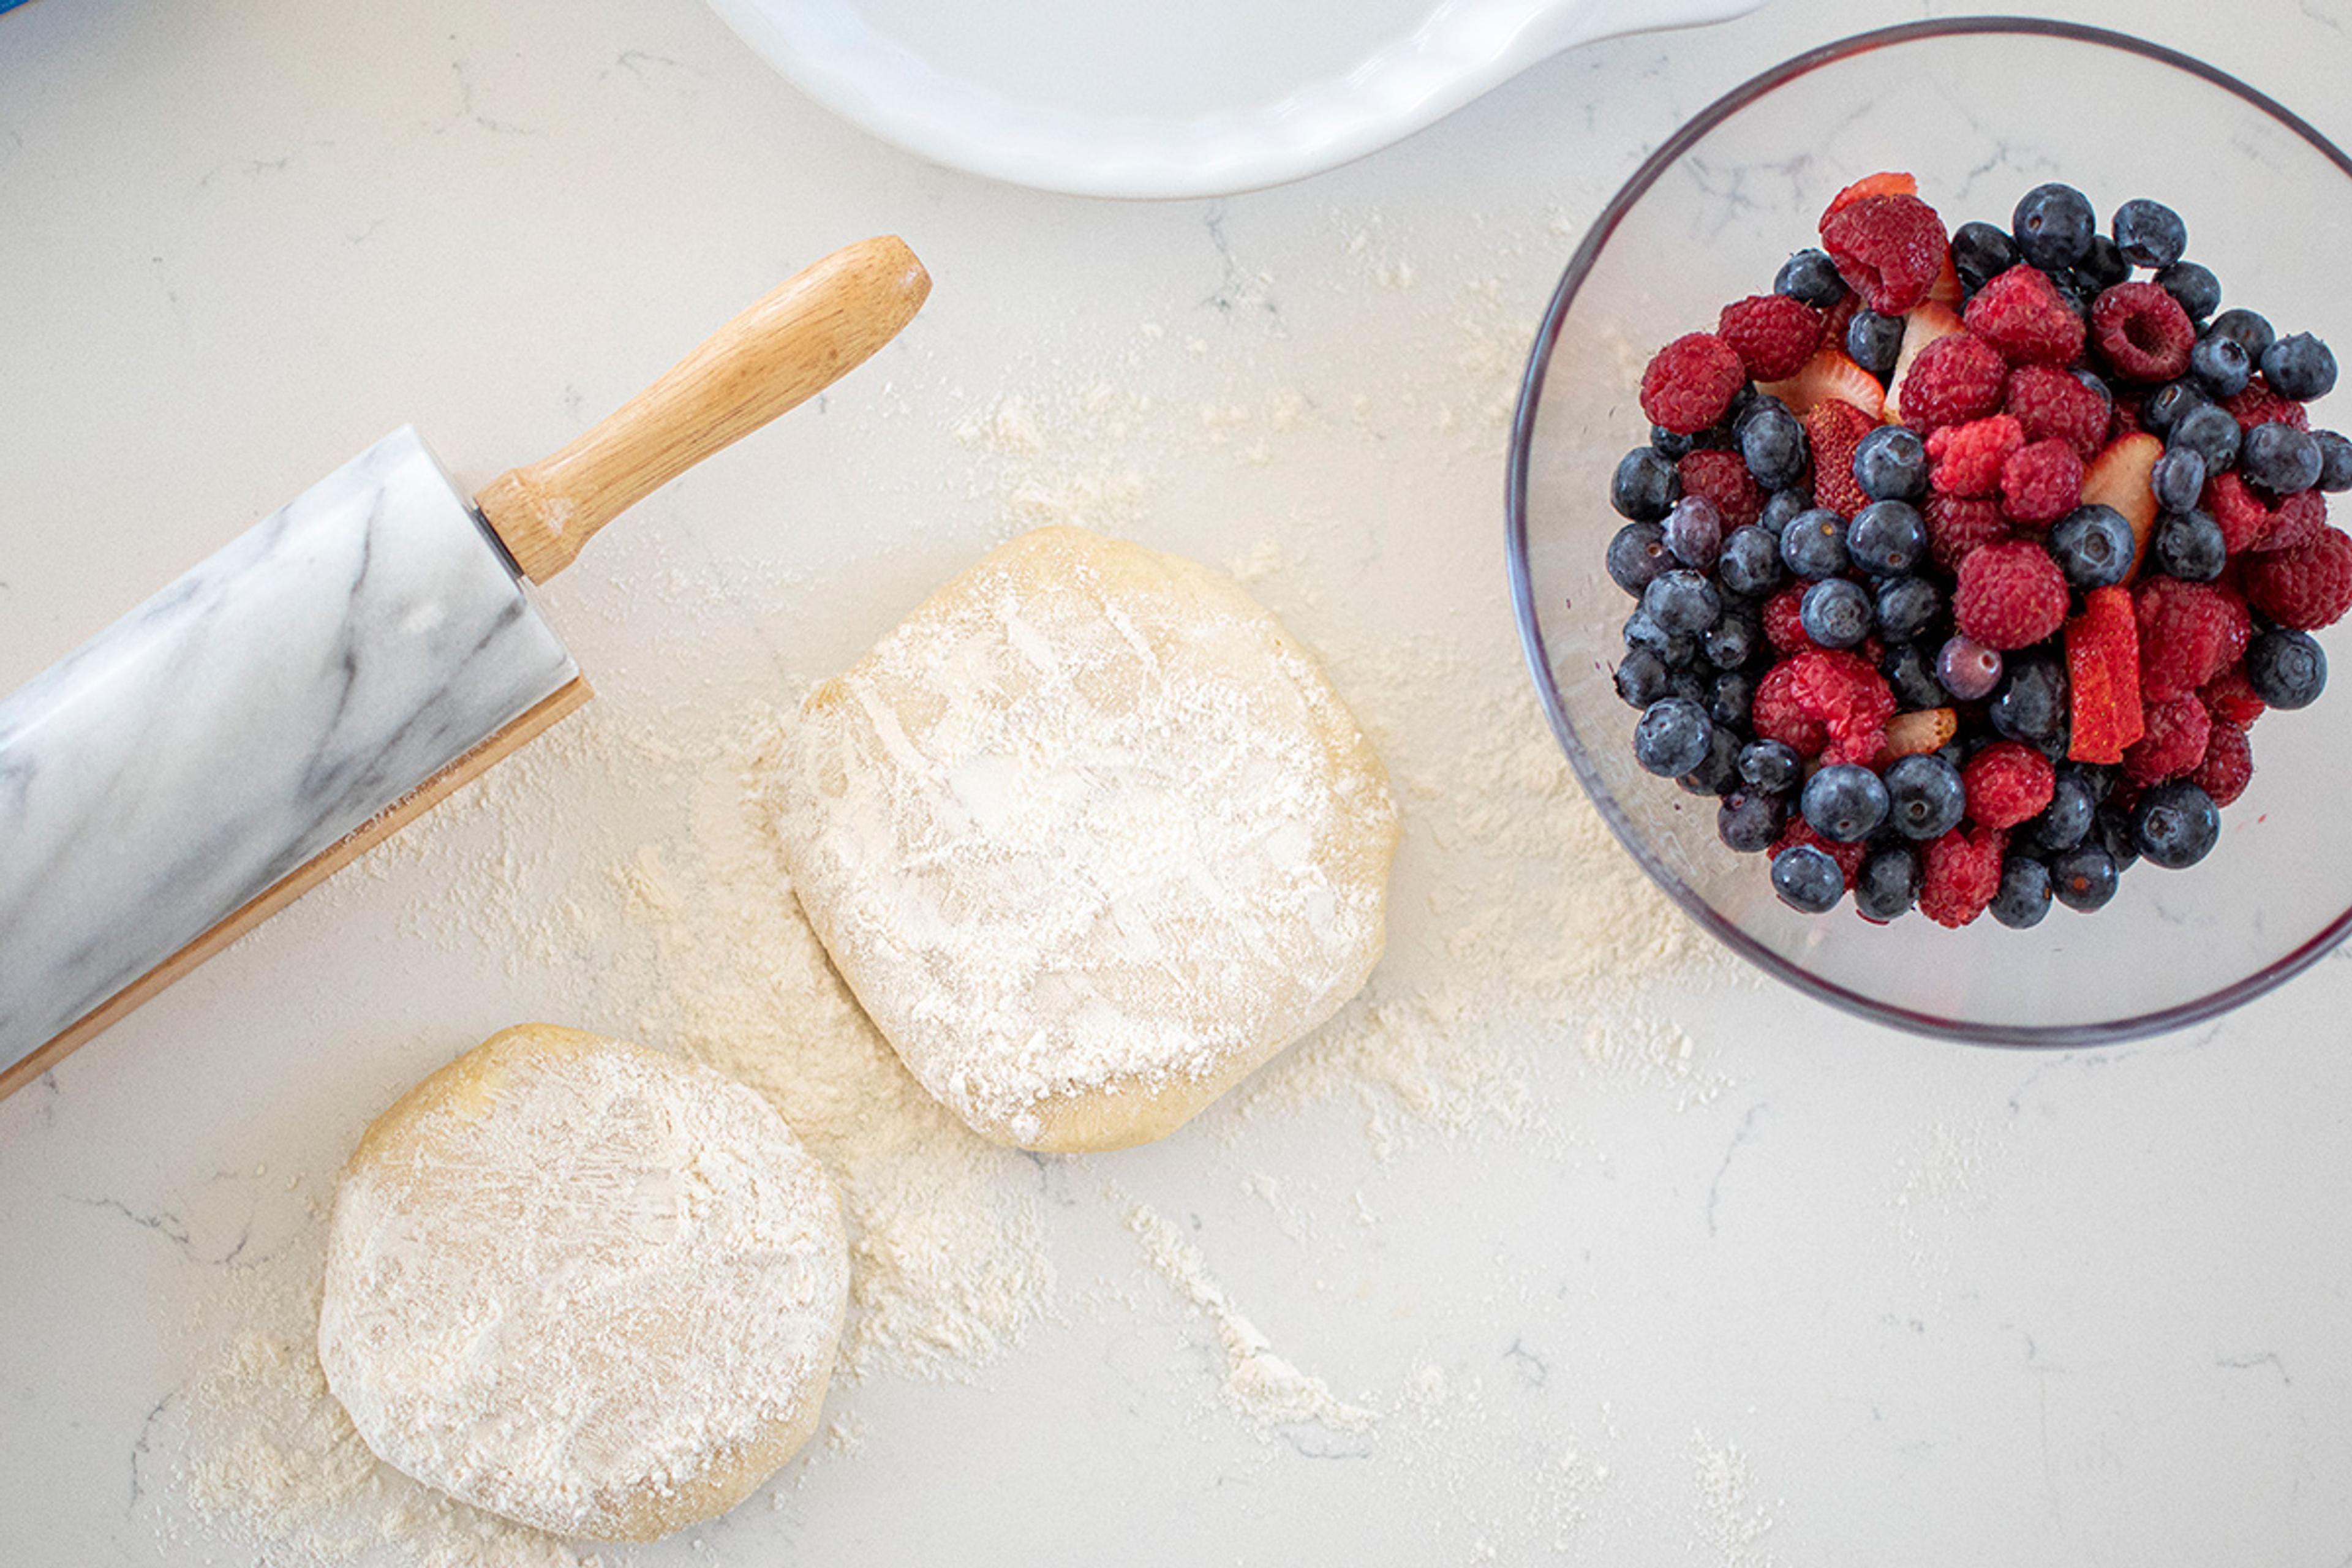
3. Quickly Roll Out the Pie Dough
Keeping the dough cold is key while rolling out the crust too. Prepare your fillings or par baking essentials first. Then remove the dough from the fridge and begin rolling it out. Rolling out the dough is where beginners can suffer as this should be done very quickly to—you guessed it—keep the butter from getting too warm. If your dough feels warm or sticky, it’s too warm; pie dough should feel cold and firm the entire time.
But don’t worry, there’s an easy fix. Simply place the filled raw pie back in the fridge for 15 to 20 minutes to keep the dough cold and firm before baking. This trick ensures that your pie dough is cold when it goes into the oven so the butter can work its magic and create a buttery flaky crust.
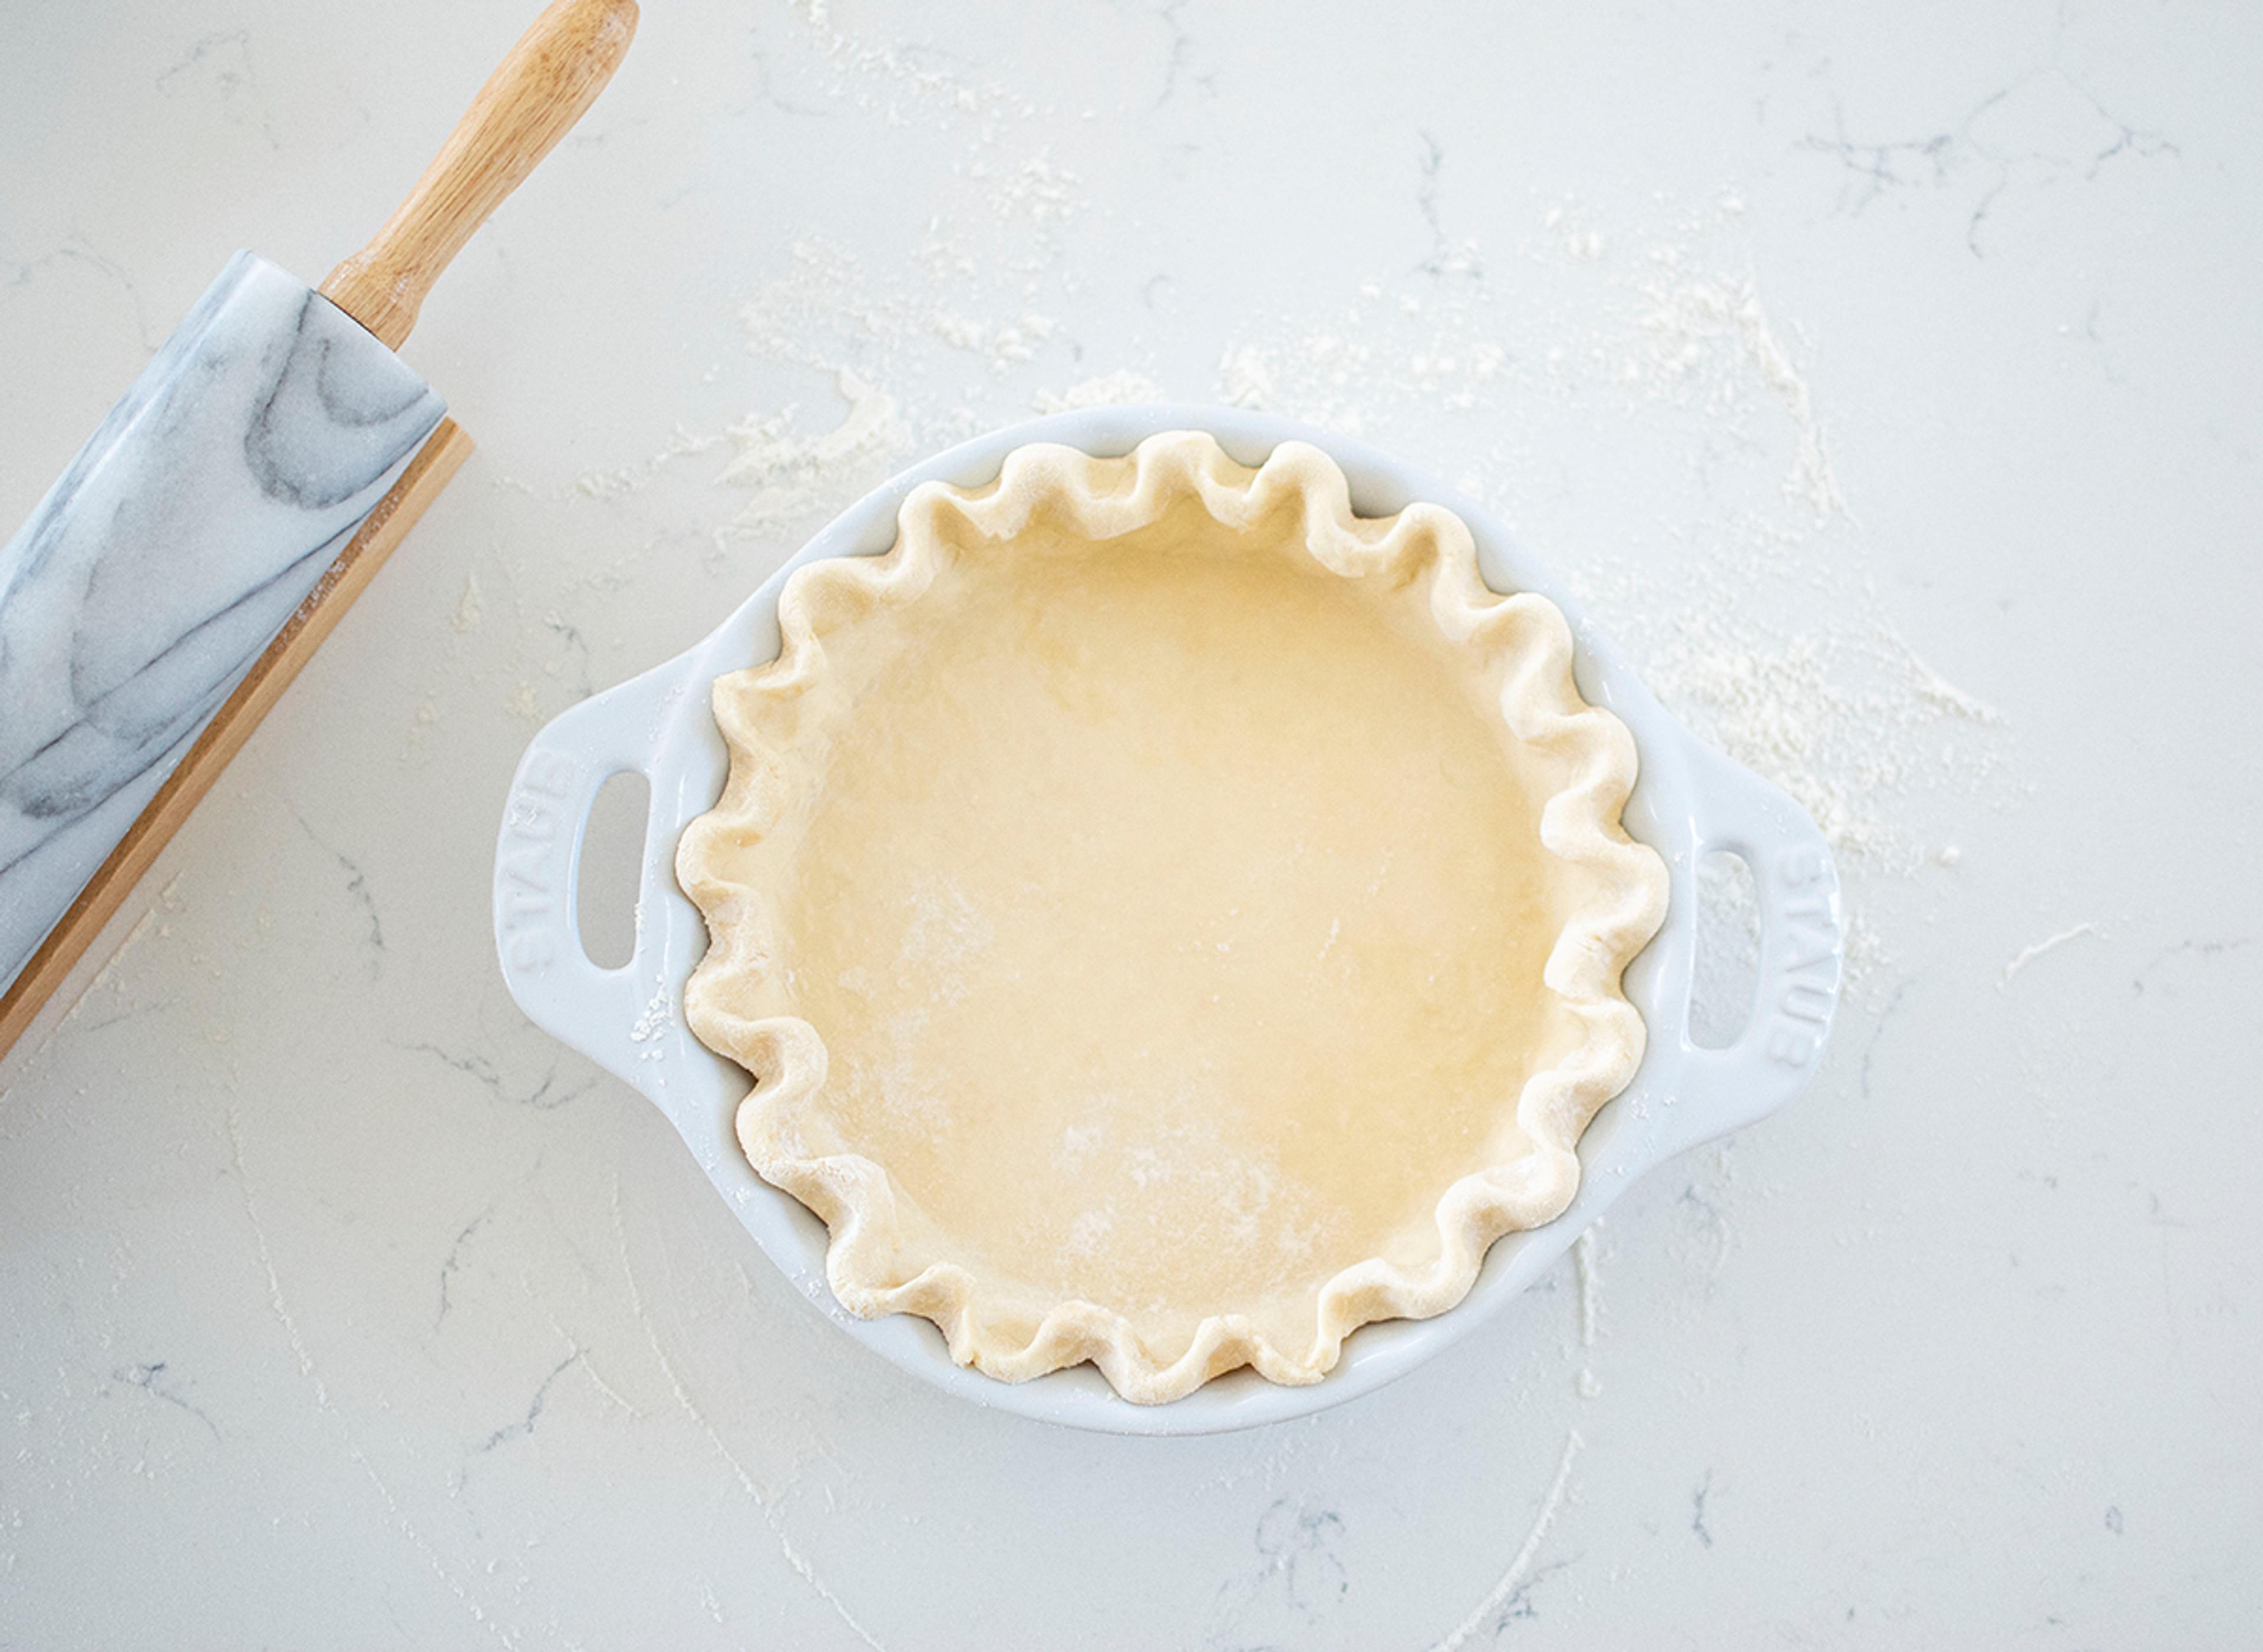
4. Partially Bake (Par Bake) the Crust
The last thing we’ll cover is par baking. Then you’ll be ready to make my easy pie crust with butter, and become the pie baker of your family!
What is par baking? And when do you need to do it? There is a very easy answer to this!
First, par baking is short for partially baking. Partially baking the crust before adding your filling will help the crust stay where it’s supposed to stay (on the sides of the pie dish) while your filling bakes and sets.
Second, the way to remember if you need to par bake or not is very simple: If your pie filling is liquid, then par baking is required. If it’s not liquid, then it’s not required.
To elaborate, most fruit pies such as apple, peach, and blueberry are full of fresh fruits, sugar, flour, and more. This type of pie gives your pie filling weight and volume, which will also hold the sides of the pie crust in place in the oven as everything starts to heat. If a pie filling is liquid–think pumpkin or pecan–when the dough gets hot in the oven it can easily melt and fold into the pie filling before it has set.
Although par baking is a technical-sounding term, it’s nothing to be intimidated by. Place a piece of parchment paper in the crust and form it to the dough. Then add something to weigh it down and act as a fake filling. You can get pie weights, but something simple like rice or beans work just as well. Fill to the brim, and bake. Reserve the rice or beans as your “pie weights” and you can reuse them forever! I keep mine in a container clearly labeled PIE WEIGHTS, so there’s no confusion in the pantry!
I hope these tips help dismiss any intimidation you may have had over making an all-butter pie crust. Although I shared numerous tips and tricks here, it truly is a simple thing to do. Choose great quality ingredients, keep everything cold, and work as quickly as you can.
Get the Recipe!
Best All-Butter Pie Crust Recipe
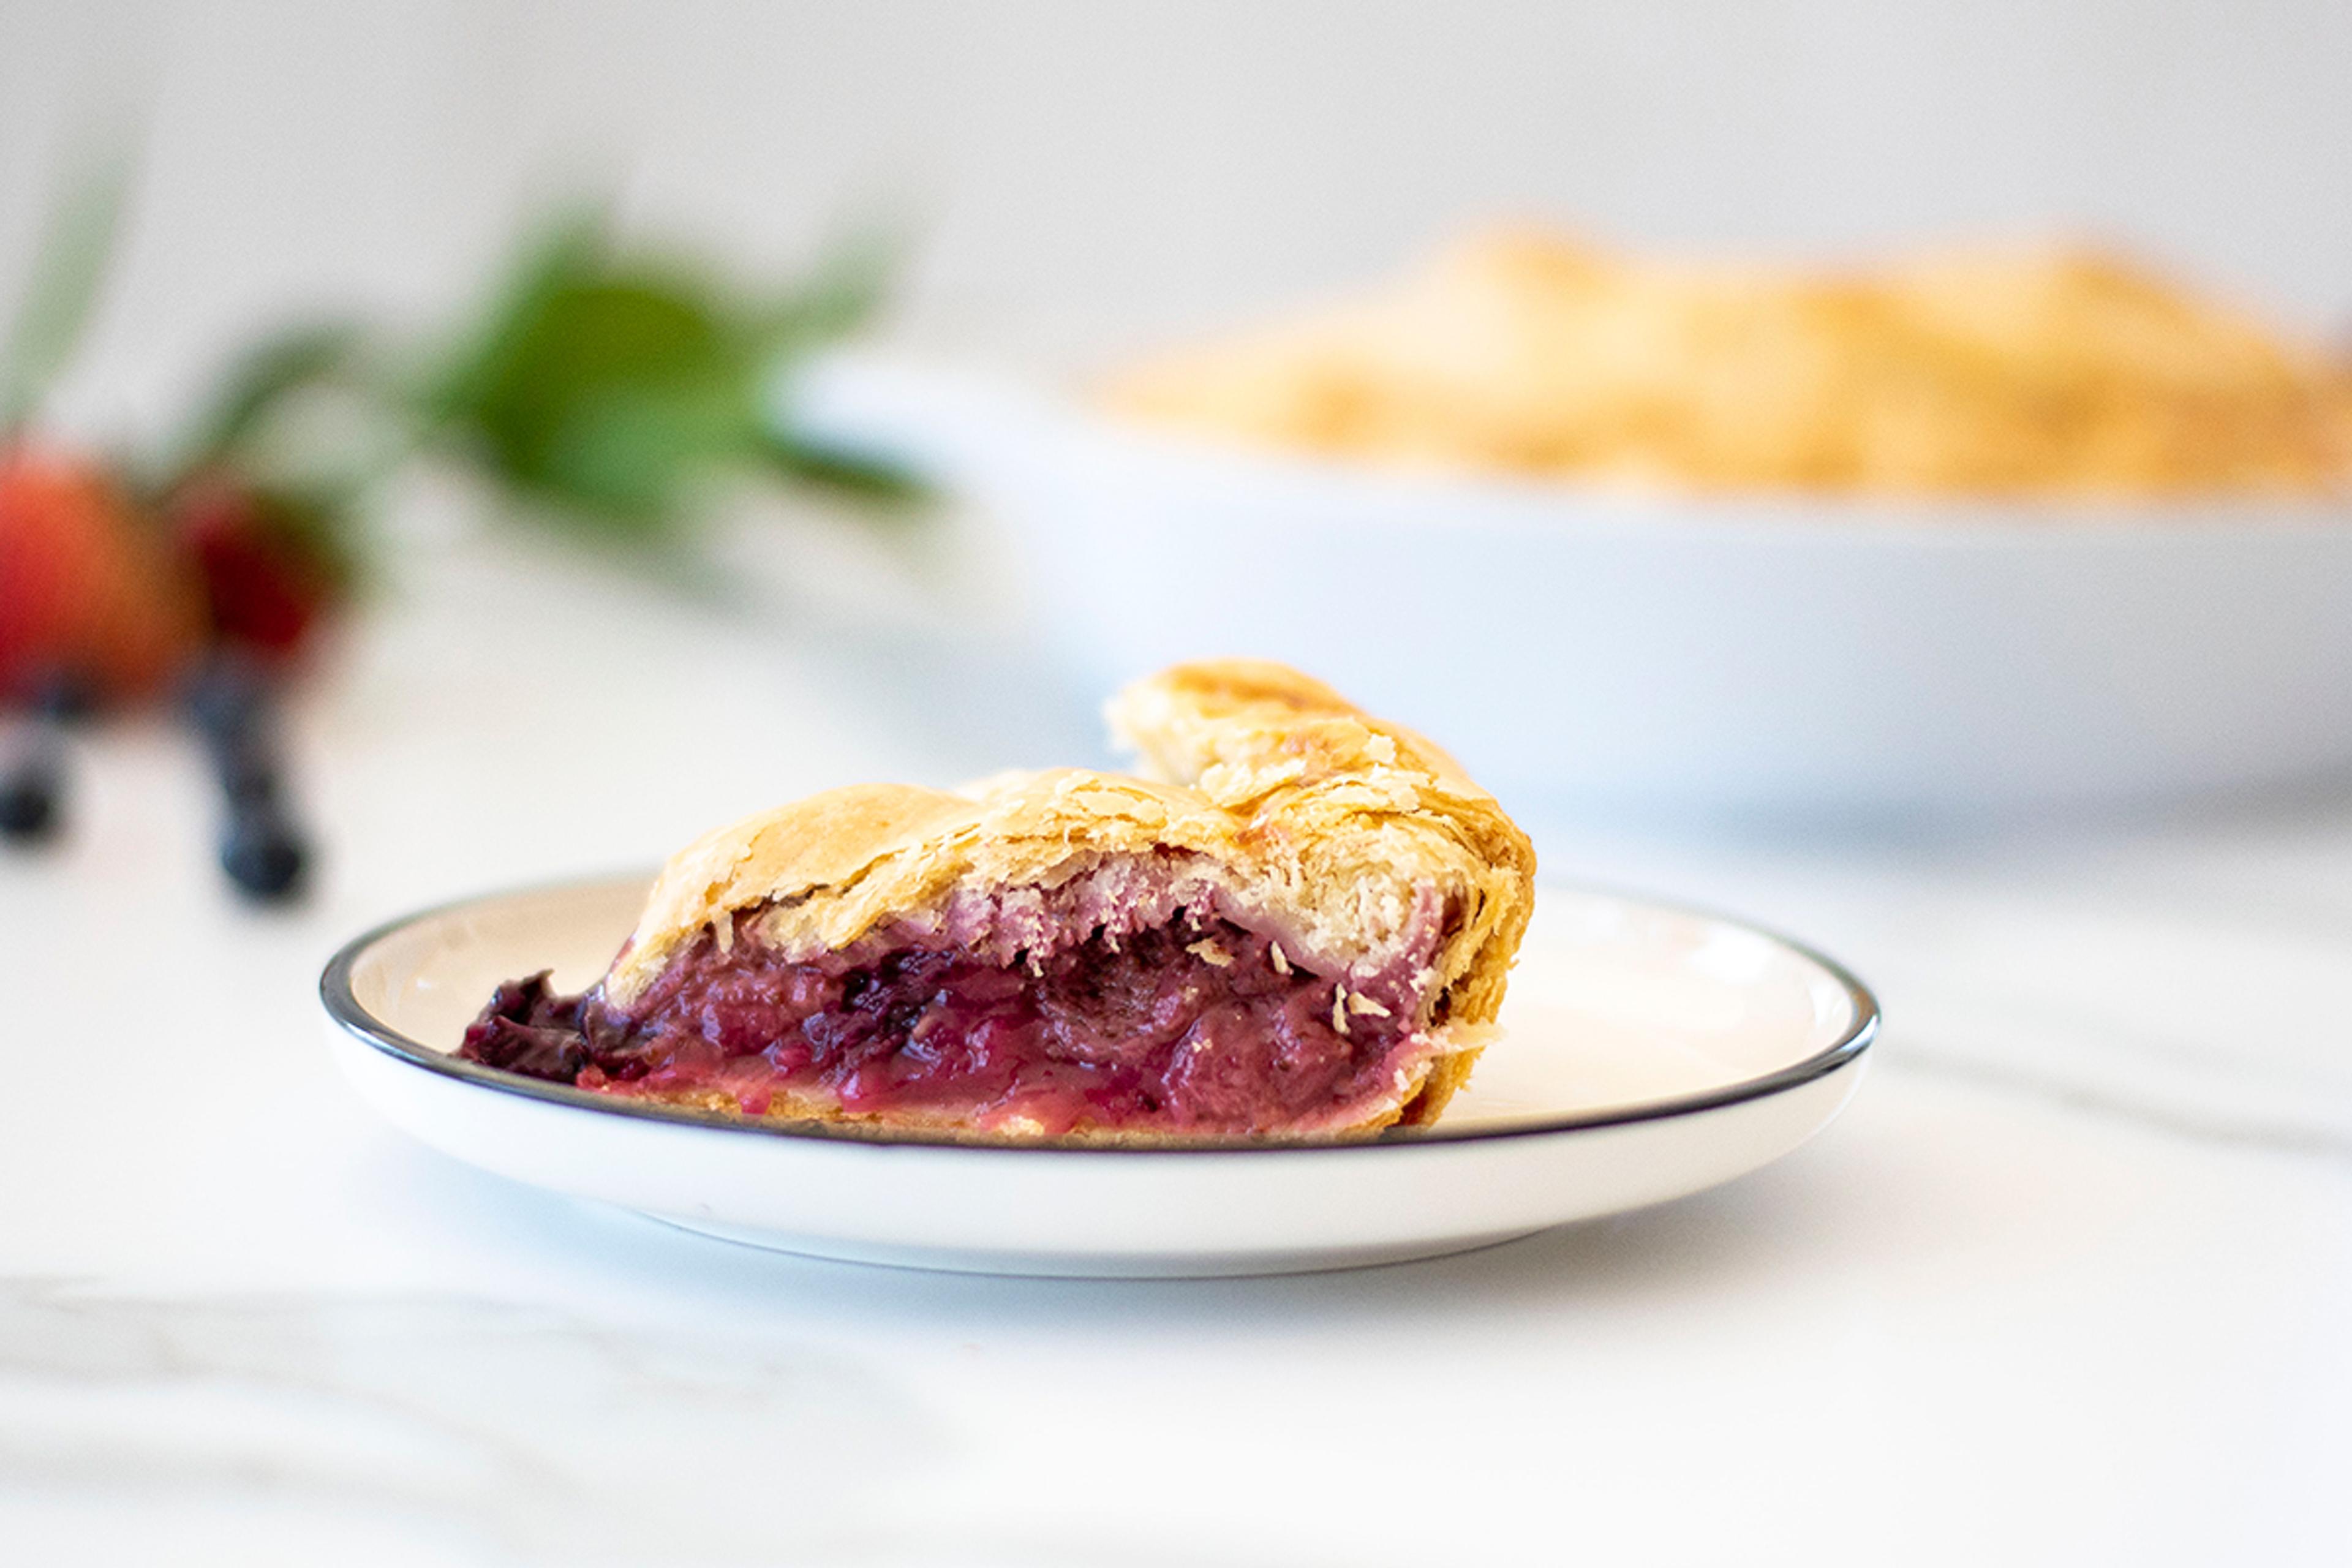
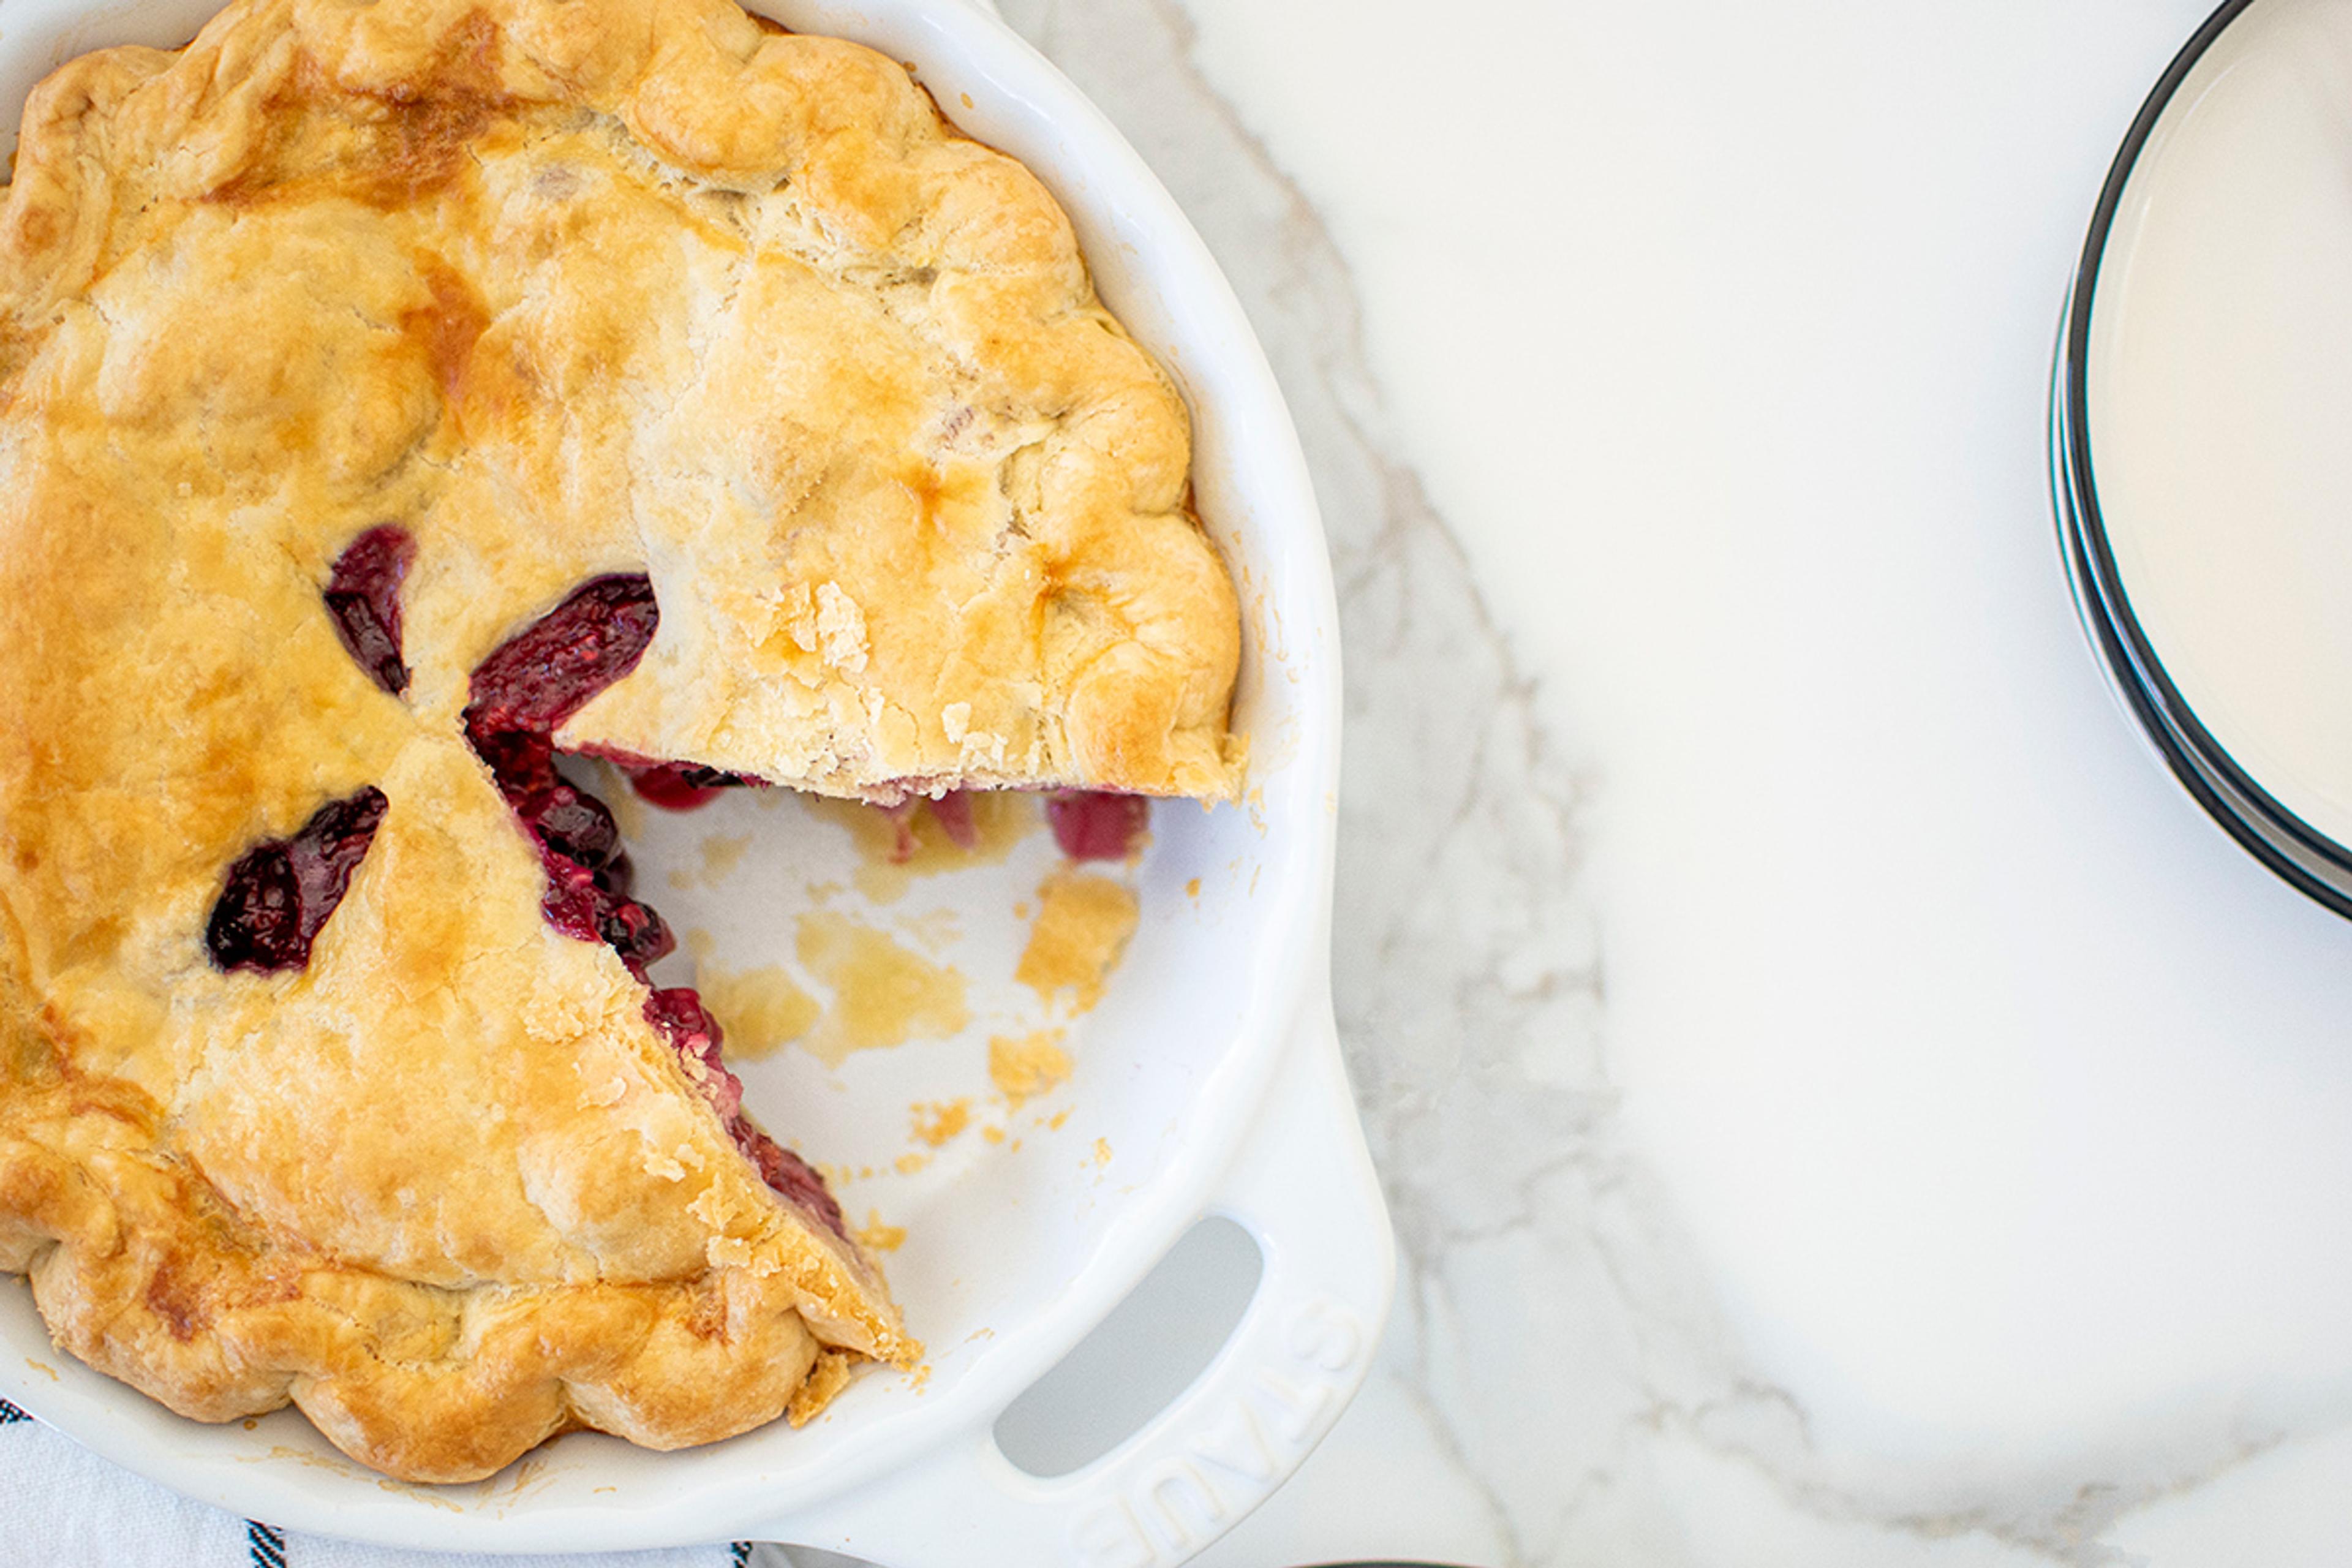
Triple Berry Pie
Try this fantastic flaky butter pie crust for yourself with my Triple Berry Pie recipe that’s packed with summer fruit!
Mimi Council is an organic and sustainability advocate. She founded the first organic bakery, and now she focuses on helping you cook, bake and eat with organic ingredients on her blog Mimi’s Organic Eats. Council is a recipe developer, food photographer and three-time cookbook author. She is known for making simple, organic recipes that can be made no matter where you live, by providing one simple adjustment for high altitude! Follow her on Instagram @mimibakescookies @mimisorganiceats.
Related Articles


- Tags:
- recipes,
- cooking & entertaining