


Food
Halloween Crafts for Kids
It’s the spookiest time of year!
We just love Halloween—the decorations, the costumes, the parties, the snacks. And the crafts!
We’ve got one super cute snack that can be tucked into kids’ lunchboxes or dressed up for a Halloween party for the young at heart, and two DIY Halloween crafts here that are great for keeping little hands busy on a blustery weekend.
Best of all, these little projects reuse milk and egg cartons, so they're environmentally friendly too! Remember to recycle them after Halloween!
Halloween String Cheese Broomsticks
How about some spooky food? Well, these witches’ broomsticks aren’t really scary at all. However, they’re a super simple DIY Halloween treat and they are downright cute! Kids will love seeing them in their lunch box (they don’t need to know it’s a healthy snack), or add some class by pairing with dipping sauces and themed garnishes for a grown-up Halloween gathering. Enjoy!
Ingredients
Makes as many as you want!
- Organic Valley Stringles® mozzarella string cheese
- Pretzel sticks
- Chives, cut into 4-inch lengths
- Optional: Dipping options and garnishes (see serving suggestions)
Directions
1. Cut each string cheese stick into thirds.
2. Using a paring knife, gently fray one end of each piece to make the broom’s “bristles.”
3. Stick a pretzel stick into the other end and tie a chive strand around the top of the “bristles.” Trim the ends of the chive strand if needed.
4. Repeat to make as many broomsticks as you want! Put them into the kids’ (or your own!) lunchboxes as Halloween draws near.

Serving Suggestion
For a grown-up gathering, display them on a tray with “cauldrons” of dipping options such as honey mustard, garlic-dill sour cream, horseradish cream, fruit chutney, and jalapeño jelly.
Include creepy garnishes like “monster eyeballs” (pimento-stuffed olives), “blood clots” (cherry tomatoes, or preserved cherries), “witches’ fingernails” (slivered almonds), and “roaches” (dates).
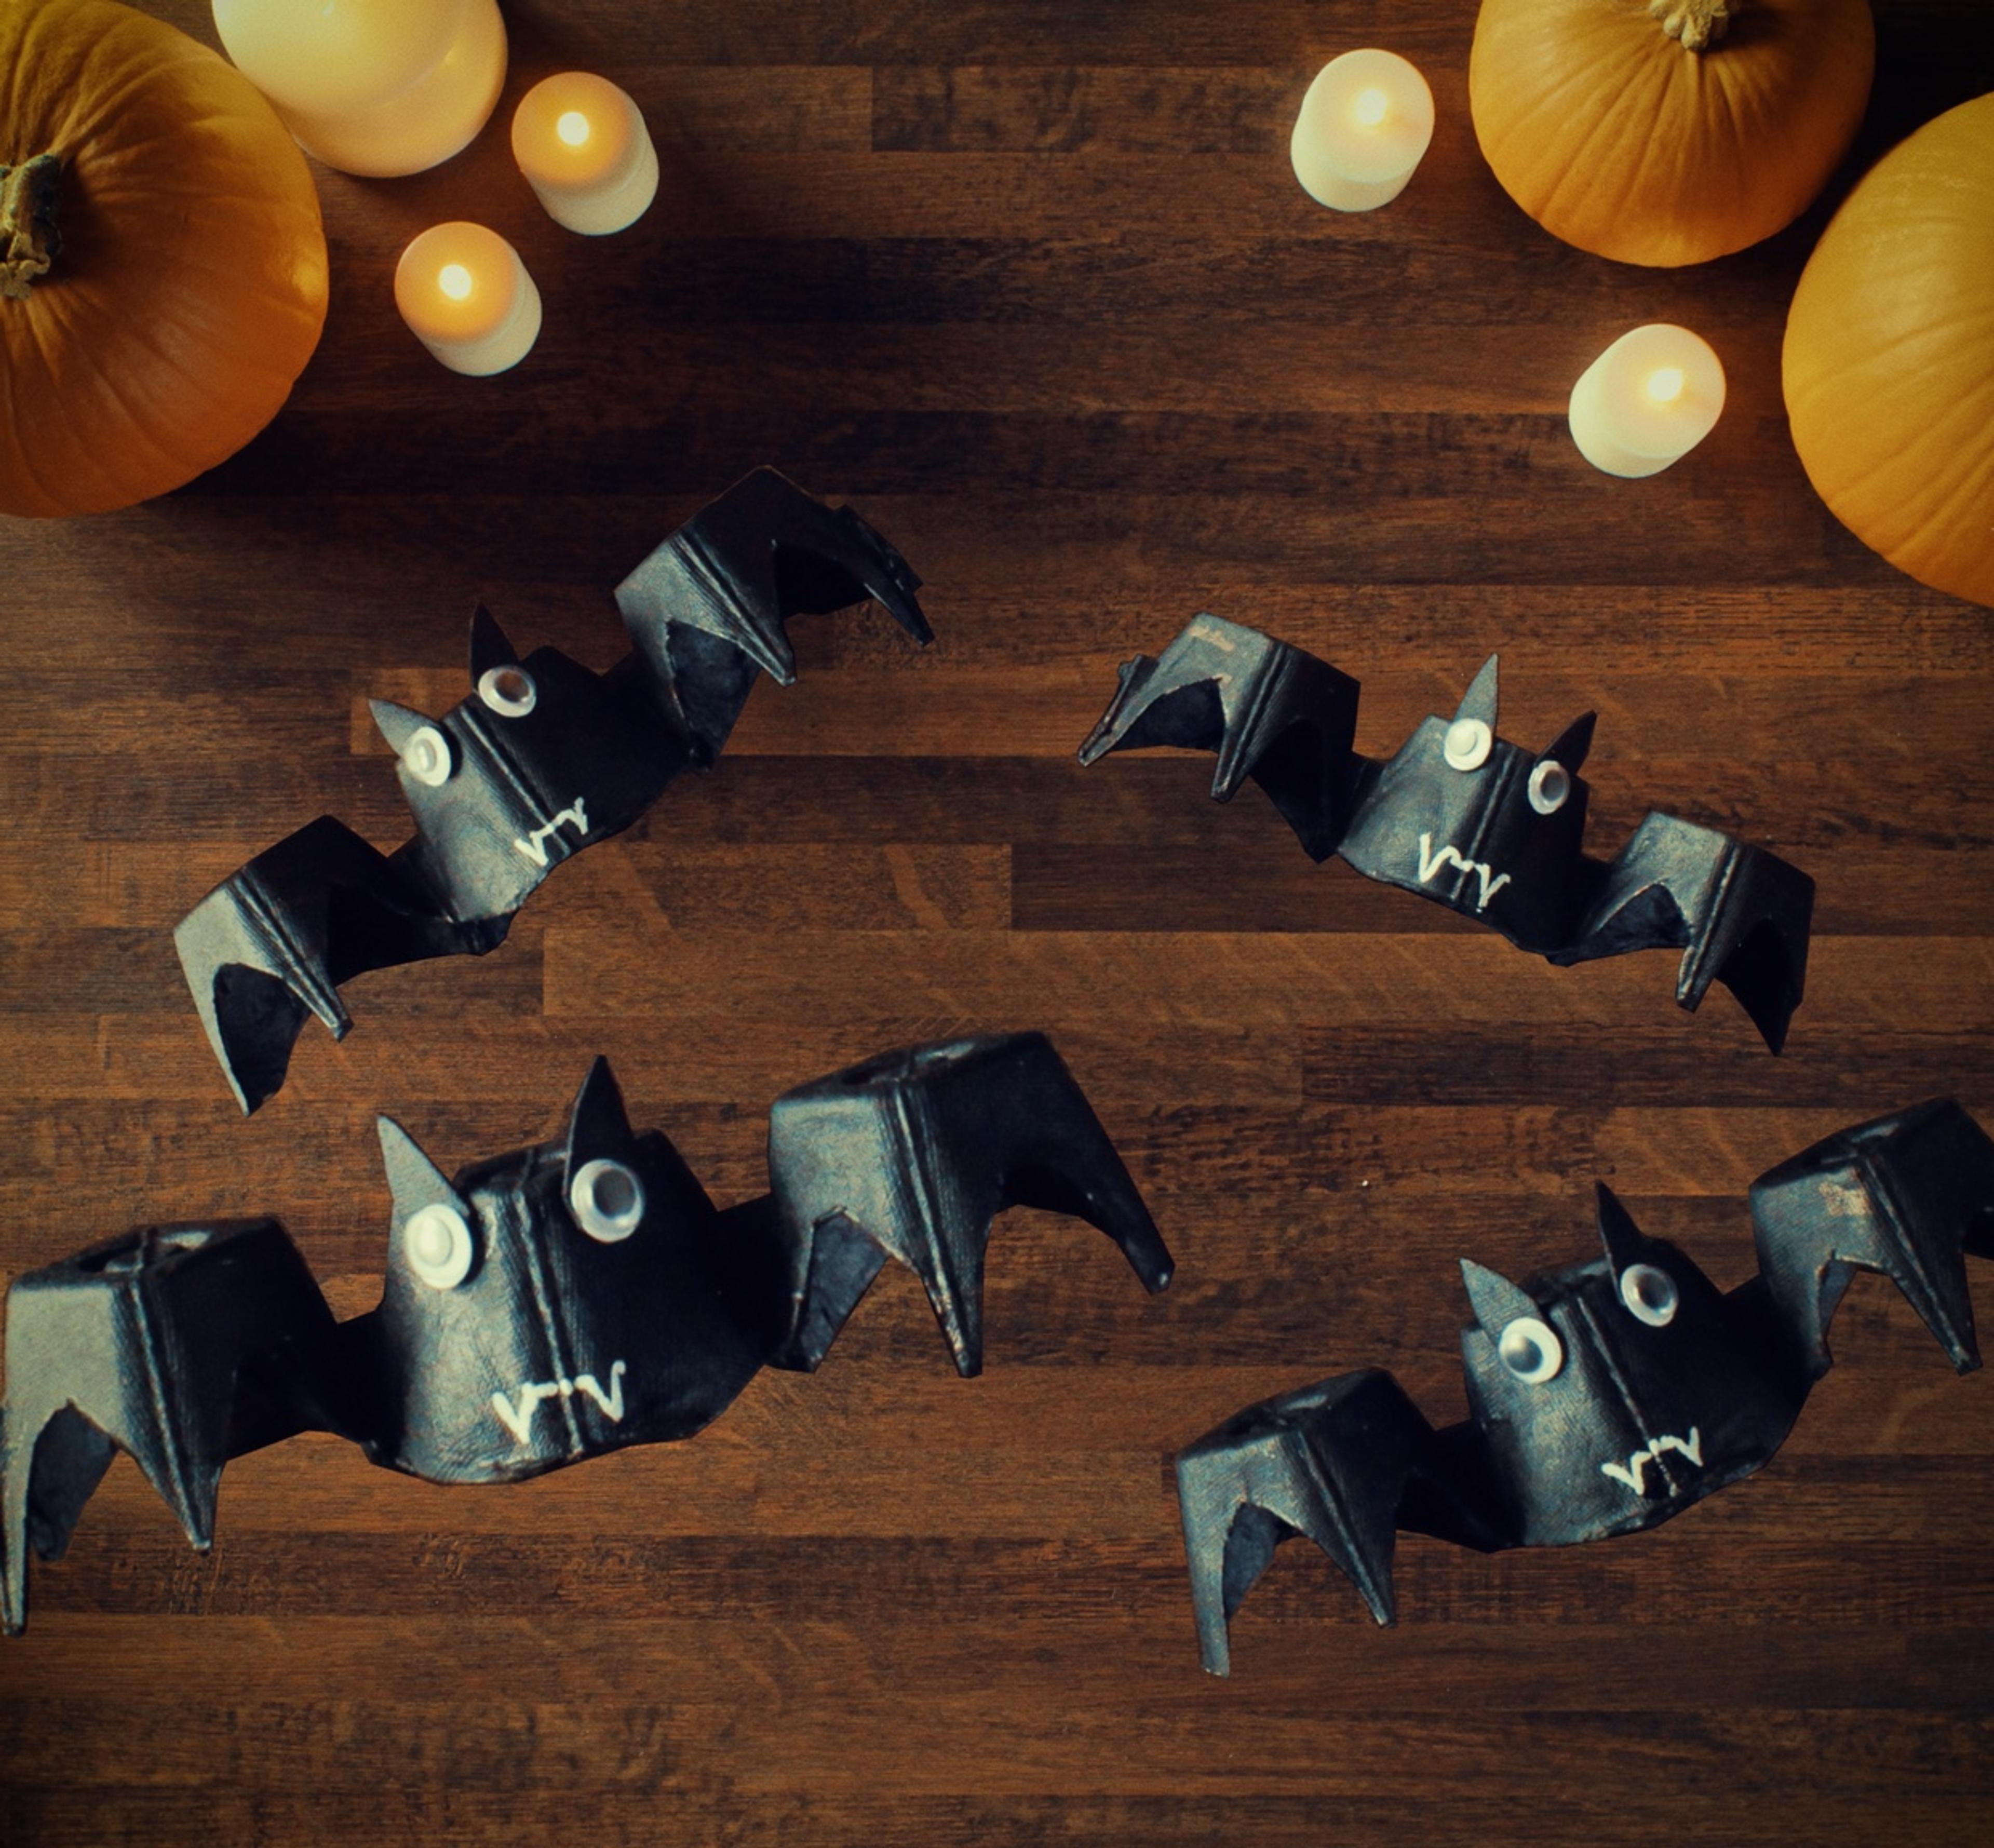
Upcycled Egg Carton Bats
These upcycled egg carton bats are the perfect Halloween project to do with the kiddos. They're super quick and an adorable way to use those old egg cartons! Check out the step-by-step video and instructions below, and watch your little bats come to life.
Materials
- Organic Valley egg cartons
- Craft paint brushes
- Black acrylic paint
- White acrylic paint (or a white marker that will draw on black paint)
- Scissors
- Black construction paper
- Small googly eyes
- Glue or tape
- String
Directions
1. Cut bottom half (cup-side) of egg cartons into 4 pieces with 3 side-by-side sections each.
2. Paint pieces black, inside and out. Allow to fully dry (shouldn’t take too long).
3. On each piece, cut triangles out of the two end cups to make bat wings. Save the pieces to use as ears.
4. Glue or tape the googly eyes onto the paper ears, and then attach to the main body of the bat.
5. Draw on bat fangs with white paint or white marker. Hang them up with string and enjoy your festive, batty friends!
Milk Jug Luminaries
Save your gallon milk jugs for a couple weeks and you’ll have a great afternoon Halloween DIY project. Then line up your spooky milk jug luminaries along the sidewalk to greet your neighborhood ghouls and goblins on Beggar’s Night!
This project is great for older children or for younger children with adult assistance since it includes using a utility knife or sharp scissors to make holes in the jugs.
TIP! If you don’t feel like freehand drawing faces for the various luminaries, you can find lots of templates online for ghosts, ghouls, Frankensteins, pumpkins, and cats.
Materials:
- Organic Valley gallon milk jugs (one for each luminary)
- Utility knife
- Scissors
- Acrylic Paint (regular or spray paint will work): black, green, orange
- Craft paint brushes
- Pencil
- Black and yellow permanent markers (other colors if you like creative kitties)
- Construction paper
- Glue (any craft glue should work)
- Pipe cleaners (for Kitty): black (or other colors if your cat is feeling jaunty)
- Needle (optional: for silhouette, if using)
- Medium-sized screws and or bolts (for Frankenstein)
- Sand or rocks (to weigh down the finished luminaries)
- Battery-operated tea lights or glow sticks (We don't recommend real candles for this project. Play it safe!)
First Step for Each Luminary
Finish off a delicious gallon of Organic Valley milk. Rinse out jug, remove labels, and dry it well
Using a utility knife or sharp scissors, cut off the jug’s top and handle so that you can reach inside.
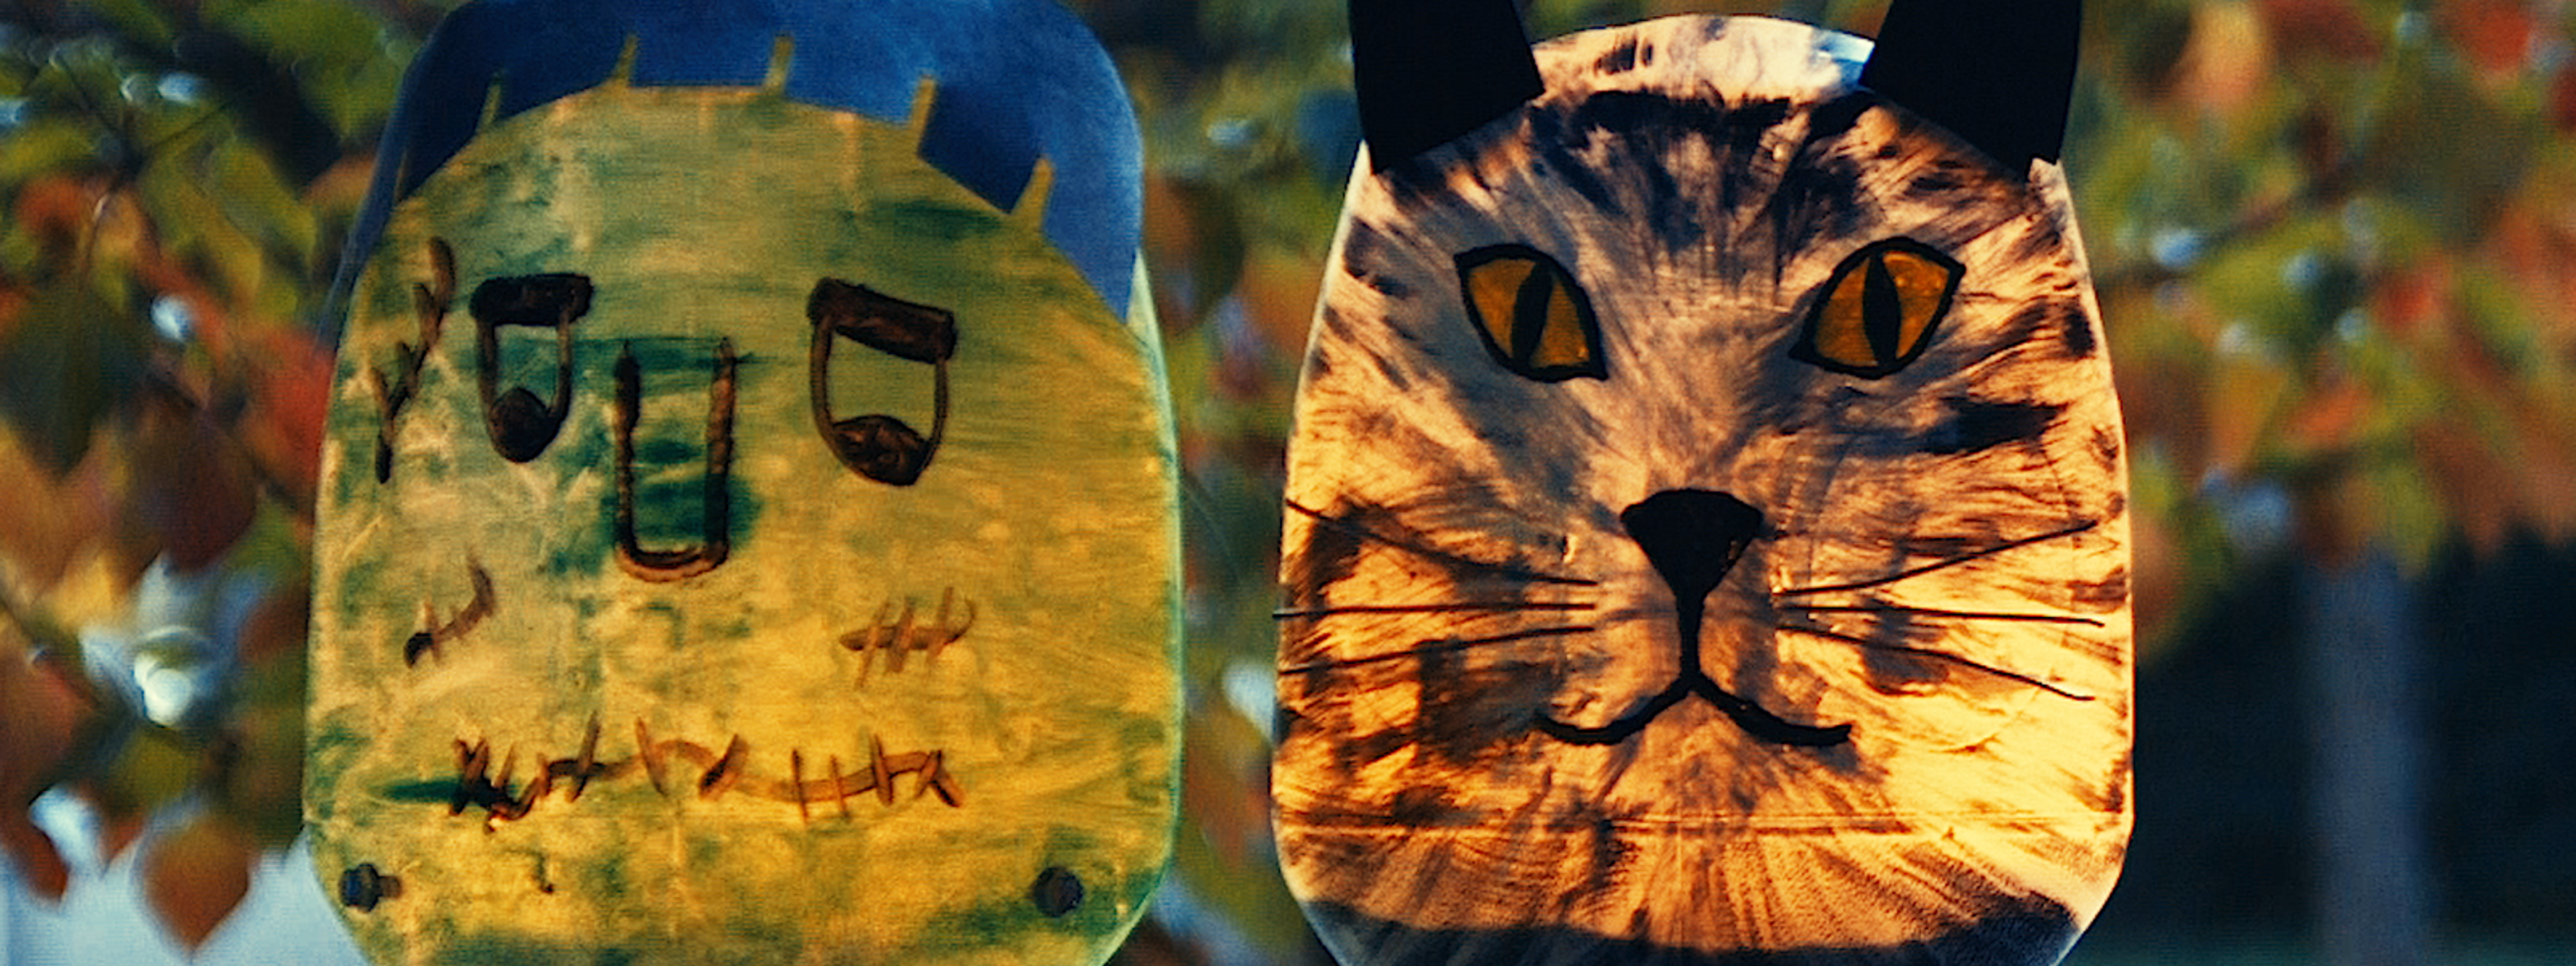
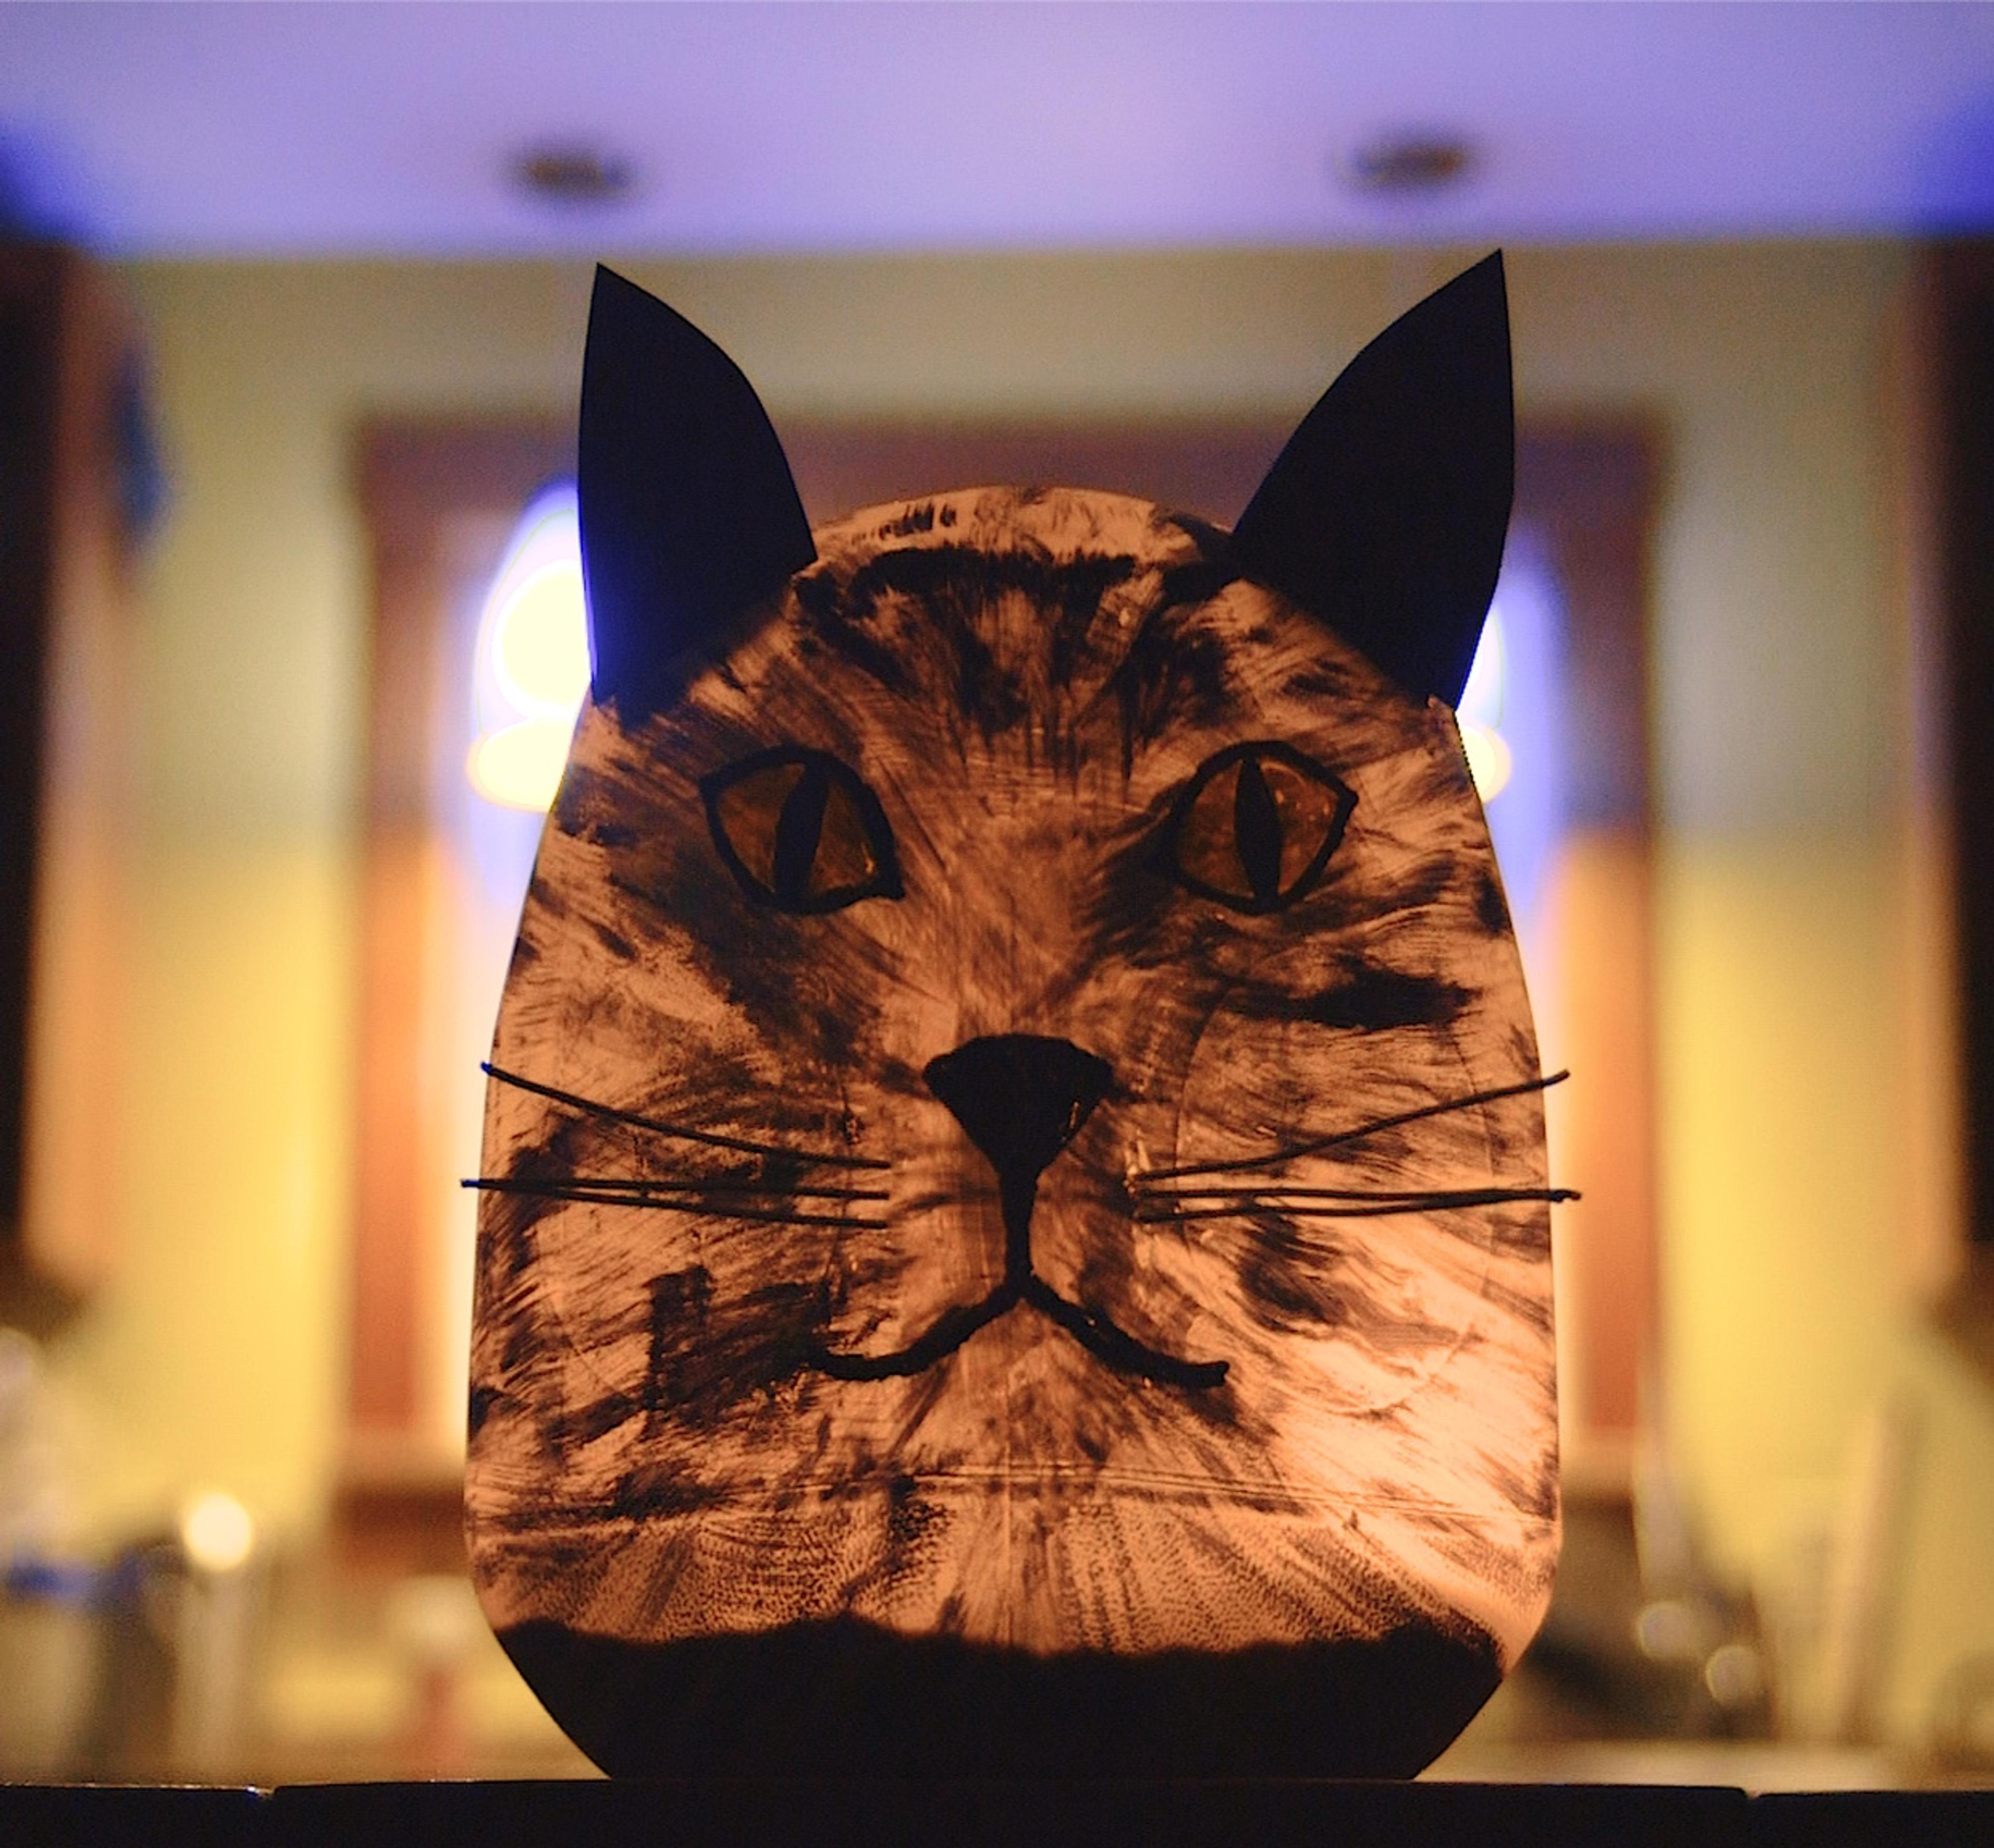
Kitty
1. Paint the jug the color you want your kitty’s body to be—all black, black and white striped (as we’ve done), or even orange tabby stripes—and allow it to fully dry (don’t rush it or the paint will flake off!). If making stripes, paint an area white in the center for the face as we’ve done in the pictures. (If doing an all black cat, follow instructions for Spooky Silhouette below to make your design.)
2. With a pencil, lightly trace a kitty face on jug. Then color it using markers or paint. (If you want, lightly paint on whiskers too. Even though you’ll be adding 3D whiskers later, painted ones help them show up better when illuminated.)
3. Once the face is dry, pencil two V-shaped marks above the eyes where you want the ears to go, about 2 inches long. Using a utility knife, cut the slits and poke 6 or 8 small holes around the nose for inserting whiskers.
4. Cut triangles out of construction paper to make ears. Include a “tab” on the bottom of the ear that’s about 2 inches long (see image for shape example). Fold ears vertically down the center, and insert the tab into the slits on your cat’s face. Secure the ears from the inside with glue or tape.
5. Cut six or eight short whiskers out of pipe cleaners and insert into the holes around the nose. Glue in place from inside if needed.
Your Kitty is done!
Ghost and Ghoul
Ghosts and ghouls are the simplest of all the luminaries and great for younger children. Once the top is cut off by an adult, you can let your little one go to town with paint and construction paper!
- Paint the whole milk jug white (for Ghost) or green (for ghoul). If you have an Organic Valley milk jug that is already white, it’ll give your ghost a spooky glow without having to paint them.
- Paint on spooky eyes and a mouth, or cut out of black construction paper and paste onto the jug. (You can find templates online if you prefer not to freehand it.)
- If doing a ghoul, you could add black construction paper hair around the top hole with glue or tape.
Frankenstein
- Paint the entire jug green and let dry.
- Give your "Frankie" a creepy face with black and orange paint and let dry. (You can find templates online if you prefer not to freehand it.)
- Add some “stitches” with black paint, construction paper or pipe cleaners.
- Using construction paper, create bristly hair by taking a long strip of paper and cutting strips 2/3 of the way through all along one side. Rumple the “hair” and glue or tape it around the hold in the carton facing up in spikes or down like bangs.
- Poke two large holes on opposite sides of the jug in its "neck" and screw bolts in both sides.
Pumpkin
- Paint entire jug orange and let dry.
- Draw thin vertical lines with black marker or paint to indicate the ribs of your pumpkin.
- Draw or paint on a spooky pumpkin face with black marker or paint. (You can also find pumpkin carving templates online for faces and other creative designs.)
- Cut a stem out of brown construction paper and glue or tape onto the top of the pumpkin.
Spooky Silhouette
- Instead of painting your luminary’s face, paint the whole jug your desired color(s).
- When completely dry (don’t rush it!), use a face or pattern template and lightly trace it onto the jug with a pencil.
- Using a utility knife or needle, scrape off paint or poke holes in the paint around your trace so that the light can shine through. No need to poke all the way through the jug since the jug will allow the unpainted spaces to glow.
After Dark
Last Step for All Luminaries
Add an inch or two of sand or rocks to the bottom of your jug to keep it from blowing away. Add your battery-operated tea light or glow sticks. Then take your creations outside and tell a scary ghost story!
You can go simple or more elaborate with these milk jug luminaries. There’s no right or wrong way to decorate (don't try to emulate Pinterest!). Just have fun with your kids, and have a treat-filled and safe Halloween!
Related Articles
- Tags:
- family & kids,
- DIY